Graphics Reference
In-Depth Information
As soon as we are happy with the adjustment, we can click on the
Take Photo
button,
which has a different icon to represent the overwriting we are about to do. Adjusting
the camera path is easy since we have the Play button to check how the animation is
working. There is a better way to see the places where some adjustments are required.
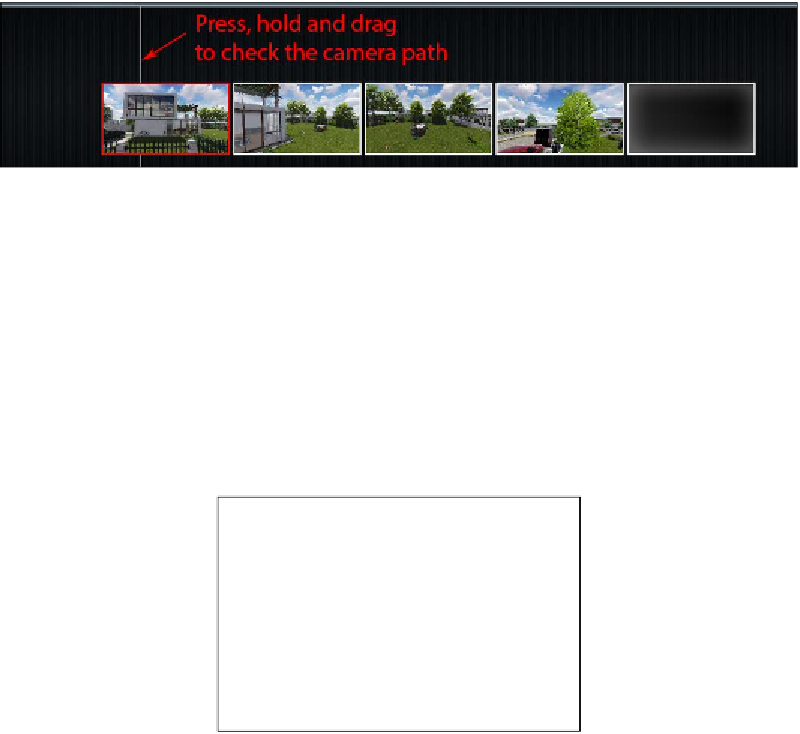
If we press and hold the left mouse button in the area above the snapshots and then
drag the clip, we can check the camera path, as shown in the following screenshot:
Additional actions that we can perform while tweaking the camera positions are
inserting a new photo and deleting a photo, which will, in turn, change the length
of the movie.
Changing the video length
The fact that we added or removed a photo from the camera path has an impact
on the length of the clip we are creating. In some situations, this can be a problem
because of certain requirements, but yet again, Lumion provides all the tools to
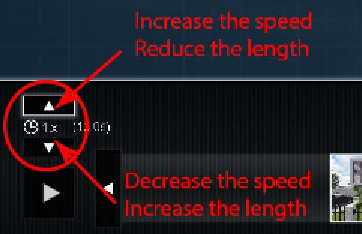
tackle this issue. When recording or tweaking the camera path, we can see the
Play button, a small clock with two arrows, as shown in the following screenshot:
This is where we can change the length of our clip by increasing or decreasing
the clip's speed. If you hover the mouse over one of the arrows, some information
appears, informing us of the current length of the clip. Then, as shown in the
previous screenshot, when the speed is increased, the length of the video is reduced,
and vice versa.