Graphics Reference
In-Depth Information
This is when the
Exposure
effect comes into play to save the scene because with
this effect, we can define how light or dark an image will appear. This also helps to
understand another important concept—layers of effects. When working with effects,
we need to keep in mind that some effects can null a previous effect. For example, if
we first added the
Exposure
effect and then the
Bloom
effect, probably, we needed
to go back to the
Exposure
effect and tweak it again.
The combination of these two effects can be used to reproduce what happens when
we shoot inside a room and a window to the outside is over-bright with bloom
around the window.
Noise
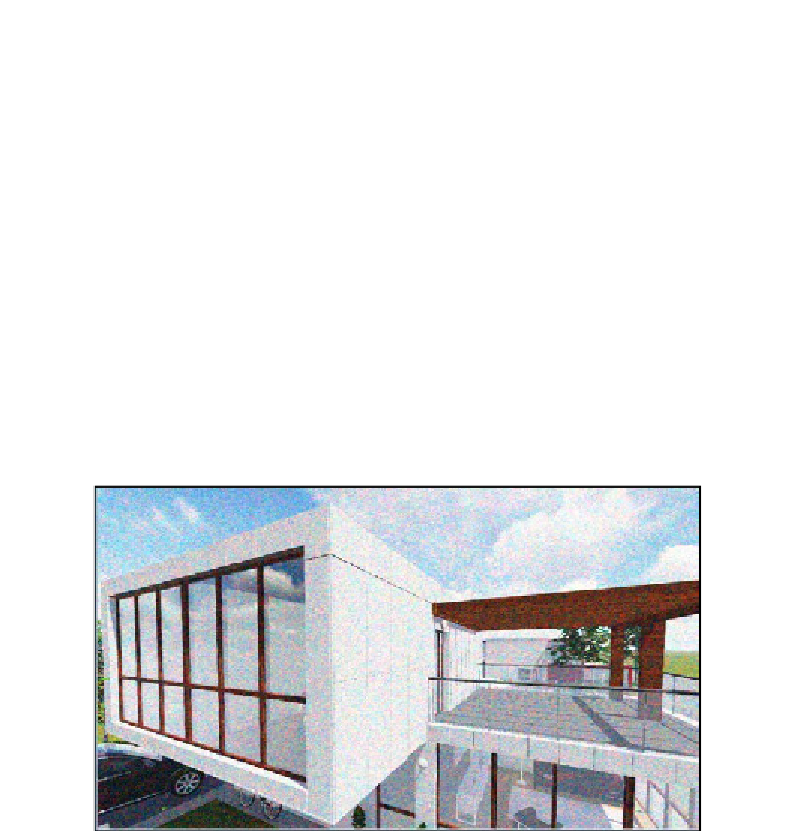
Adding noise to our image may sound strange, but the noise we are referring to
describes the flecks or grains that appear with low quality cameras or when we shoot
in low light. This is something that when added to a 3D image can help to make the
image more believable, but we need to add just a small amount and not exaggerate
like we did here:
The
Noise
effect can be found under the
Style
tab, but don't copy the previous
screenshot because the main goal of this image is only to show what noise is. The
trick with this effect is going back a few values once the noise starts to be noticeable.
Too much noise will distract the viewer, but the correct amount will trick the brain
to think that the image is a photo. However, if you are creating a night time scene,
adding a little bit of extra noise will actually help to sell the image or movie.


