Graphics Reference
In-Depth Information
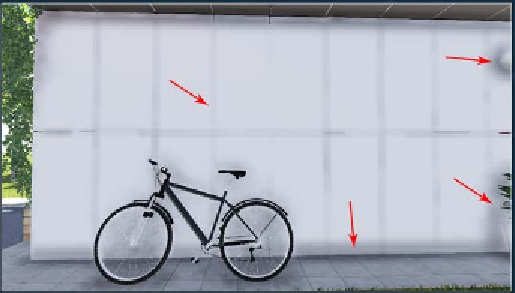
There is a massive difference between shadows when we compare the right-hand
side image with the left-hand side one. So, what happened? On the left side, the Sun
shadow range was tweaked in order to increase the quality of the shadow, but we
need to be reasonable. Why? We may want to play safe and decrease this value in
order to get the best shadows possible, but on the other hand, this will make objects
far away from the camera causing the loss of shadows. And if you increase the Sun
shadow range to the maximum value, it is true that we recover the shadows, but the
quality drops quite substantially. This is more of a problem when creating movies,
but can be tackled by animating the effect. That is right, we can animate effects and
this is something that we will be covering in
Chapter 9
,
Animation Techniques
.
Is there anything else we can do to improve the quality of the shadows and
the sunlight?
Coloring and tweaking soft shadows
In an exterior daylight scene, the main light source is the sun, but then there is
another element that also influences the shadows—the sky. Comparing with the
sun, the light from the sky is soft and diffuse giving a different tint to shadows
accordingly to the weather. A clear sky can make the shadows darker and bluer, but
on the other hand, when the sky has more clouds (overcast), the shadows become
grayer. Can we mimic this effect in Lumion?
Once again, the
Shadow
effect has the answer with the
Coloring
setting. A value
close to 1 will increase the bluish look and a lower value creates a warmer color.
Keep in mind the guidelines already mentioned to use the correct color accordingly
with the weather and lighting you have.
Before we move to a more artistic section, let's talk about soft shadows and how they
can be both good and bad to our scene. It may happen that our scenes in some areas
look something like this: