Graphics Programs Reference
In-Depth Information
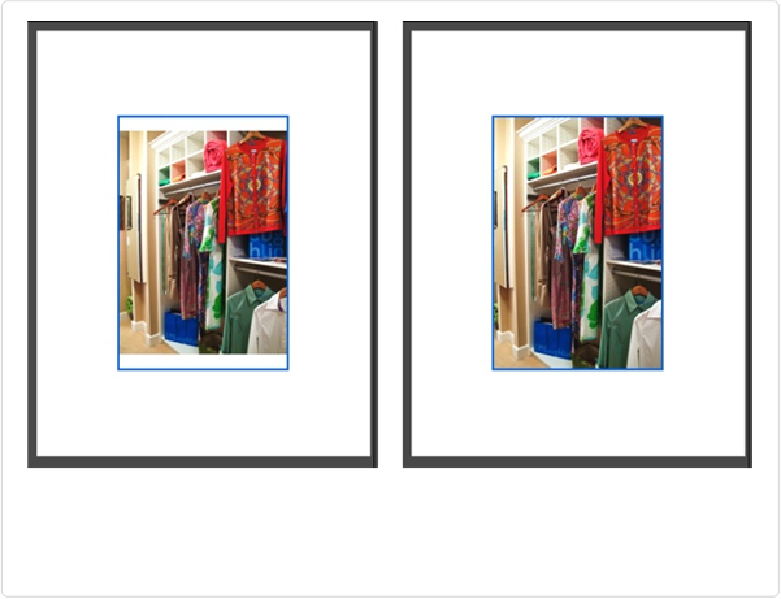
Figure 16-4. Left: Here's how this photo will print with “Crop to Fit” turned off. Notice the white
space at the top and bottom of the blue bounding box. Right: Leave “Crop to Fit” turned on, and
Elements enlarges the photo enough to fill all the space and then crops off any excess (here, it
cropped the right and left edges).
Printing in OS X
1.
In the Editor, choose the photo(s) you want to print
.
In the Photo Bin, select the photos you want to print. (If you don't select any, Ele-
ments prints
all
your open photos.) As
Figure 16-3
explains, you can add photos once
you open the Print window, but they have to be in the Organizer.
2.
Go to File
→
Print or press
⌘
-P
.
The Print window appears. It's divided into three main sections: On the left is a
filmstrip-like view where you can add or remove photos you want to print (
Fig-
print and some controls for rotating and adjusting them; there's a blue outline around