Graphics Programs Reference
In-Depth Information
to the right of the gradient thumbnail; this opens the Gradient panel. Next, at the top of the
panel, click the drop-down menu and select Noise Samples. Look through the thumbnails
that appear and click to select one you like. You can then edit it by clicking the Edit button in
the Tool Options area to bring up the Gradient Editor.
TIP
If you want to create a noise gradient that's
not
based on one of Elements' Noise Sample
presets, click the Tool Options area's Edit button to bring up the Gradient Editor, and then
choose Noise from the Type menu.
Noise gradients have some special Gradient Editor settings of their own:
▪
Roughness
controls how gradually the gradient transitions from color to color (see
Fig-
ure 13-24
for details). A higher number not only means less-smooth transitions, but also
more shades of color in the gradient.
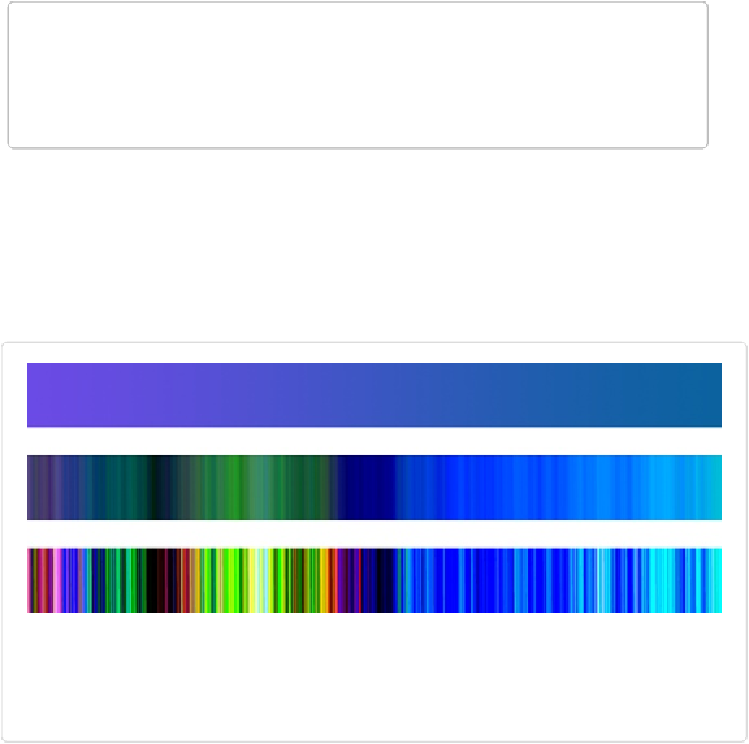
Figure 13-24. The amount of roughness in a noise gradient can make quite a difference in the
effect you get. Top: A solid purple-to-blue gradient. Middle: A noise gradient with the same
colors and 50 percent roughness. Bottom: A noise gradient with the same colors and 90 per-
cent roughness.