Graphics Programs Reference
In-Depth Information
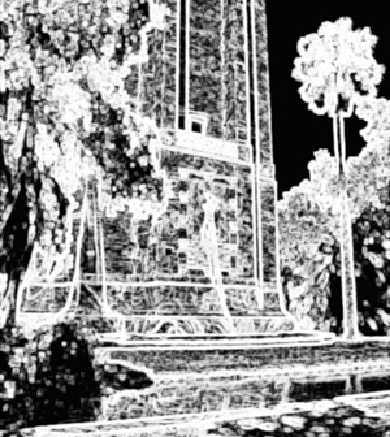
Figure 8-7. If you've tried high-pass sharpening (page 267), then you won't have any trouble un-
derstanding this view. Just Alt-drag/Option-drag the Detail tab's Masking slider to see this black-
and-white view of your image. The lack of color makes it easy to focus on what you're doing to the
photo's edge sharpness, so you get an accurate view of the effect the slider is having. (The other
sliders in the Sharpening section also show different views when you Alt-drag/Option-drag them:
Amount displays a black-and-white view, while Radius and Detail are more like what you see when
applying the High-Pass filter.)
If you're not planning on making any further edits to your photo when you leave the Raw
Converter, then go ahead and sharpen the image here. On the other hand, some people prefer
to wait and sharpen only after they finish making additional adjustments in the Editor, so
they skip these sliders. But you can usually sharpen here and then sharpen
again
later (in the
Editor) without any problems.
The second group of settings on this tab (under Noise Reduction) work together to reduce
noise
(graininess) in your photos. Noise is a big problem in digital photos, especially with
10-plus megapixel cameras that don't have the large sensors found in single-lens reflex cam-
eras, and with cellphone cameras. Here's how these adjustments can help: