Graphics Programs Reference
In-Depth Information
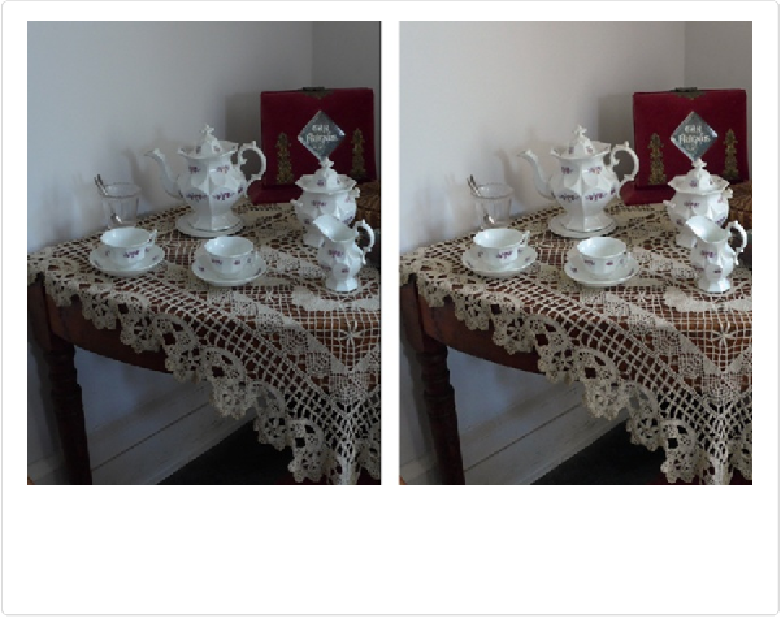
Figure 4-8. Left: This photo, taken in a dim interior, is pretty dark. Right: The Auto Smart Fix but-
ton improved it significantly with just one click. You may then want to use the tools in the Adjust-
ments panel's Balance section (page 134) to really fine-tune the color. To try this fix for yourself,
download teaset.jpg from this topic's Missing CD page at
www.missingmanuals.com/cds
.
If you're happy with Auto Smart Fix's changes, you can move on to another photo, or try
sharpening the same photo a little if the focus appears a bit soft (see
Balancing Color
). You
don't need to do anything to accept the Smart Fix changes, but if you're not thrilled with the
results, take a good look at your picture. If you like what Auto Smart Fix did but the effect is
too strong or too weak, press Ctrl+Z/
⌘
-Z to undo it, and then try one of the Smart Fix sec-
tion's presets or play with its slider instead. This slider does the same thing as the Auto
Smart Fix button, only
you
control the degree of change. Watch the image as you drag the
slider to the right. (If your computer is slow, there will be a certain amount of lag, so go
slowly to give Elements a chance to catch up.) If you overdo it, click the Undo button at the
bottom of the Editor window and start again.