Graphics Programs Reference
In-Depth Information
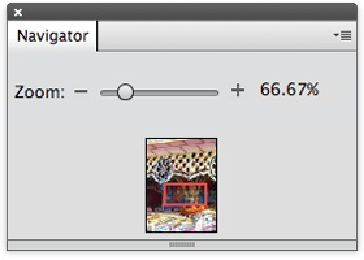
slider handy for micromanaging the zoom level. To call it up, go to Window→Navigator. (It
appears as part of the grouped floating panel [
Basic Workspace
], but if you're in the Custom
Workspace [
Custom Workspace
] you can drag it out and close the rest of the group to get it
out of your way.)
Figure 3-18. Meet the Navigator, which is perfect for keeping track of where you are in a large im-
age. You can travel around the image by dragging the little red rectangle shown here, which marks
the area of the photo that's currently displayed onscreen. And you can adjust your zoom level by
dragging the slider, clicking the percentage and either typing a new number or pressing Alt/Option
plus the up or down arrow key, or clicking the + and - buttons on either end of the slider.
Changing the Size of an Image
The previous section explained how to resize your
view
of an image—how it appears on your
monitor. But sometimes you need to change the
actual
size of an image, and that's what this
section is about.
Resizing photos brings you up against a pretty tough concept in digital imaging:
resolution
,
which measures, in pixels, the amount of detail your image can show. What's confusing is
that resolution for printing and for onscreen use (like email and the Web) are quite different.
You need many more pixels to create a good-looking print of an image than you do to view
the image clearly onscreen. A photo that's going to print well almost always has too many
pixels in it to display easily on many monitors, and as a result, its file is usually pretty hefty
for emailing. So you often need two copies of a photo for the two different uses. (If you want
to know more about the nitty-gritty of resolution, a good place to start is
www.scantips.com
.
)