Java Reference
In-Depth Information
Exercise 11.43
Implement an
edge detection
filter. Do this by analyzing the nine pixels in a
three-by-three square around each pixel (similar to the smooth filter), and then set the value of the
middle pixel to the difference between the highest and the lowest value found. Do this for each
color component (red, green, blue). This also looks good if you invert the image at the same time.
Exercise 11.44
Experiment with your filters on different pictures. Try applying multiple
filters, one after another.
Once you have implemented some more filters of your own, you should change the version
number of your project to “version 2.1.”
11.7
ImageViewer 3.0: more interface components
Before we leave the image-viewer project behind us, we want to add a few last improvements,
and in the process look at two more GUI components: buttons and borders.
11.7.1
Buttons
We now want to add functionality to the image viewer to change the size of the image. We
do this by providing two functions:
larger
, which doubles the image size, and
smaller
, which
halves the size. (To be exact, we double or halve both the width and the height, not the area.)
One way to do this is to implement filters for these tasks. But we decide against it. So far, filters
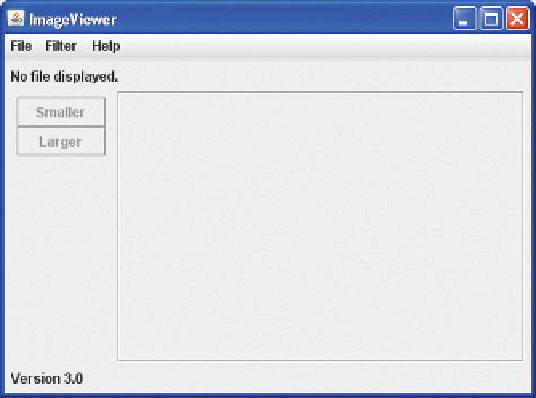
never change the image size, and we want to leave it at that. Instead, we introduce a toolbar on
the left side of our frame with two buttons in it labeled
Larger
and
Smaller
(Figure 11.12). This
also gives us a chance to experiment a bit with buttons, containers, and layout managers.
Figure 11.12
Image viewer with
toolbar buttons
Search WWH ::

Custom Search