Graphics Programs Reference
In-Depth Information
4. Choose
Create > Light > Area Light
from the main menu; the area light is displayed in
the Perspective viewport and
Light.1
object is added to the Object Manager.
5. In the Attribute Manager, choose the
General
button; the
General
area displayed. In this
area, enter
50
in the
Intensity
spinner.
6. Choose the
Coord
button; the
Coordinates
area is displayed. In this area, set the para-
meters as follows:
P . X:
-195.649
P . Y:
101.072
P . Z:
-153.428
R . H:
-76.552
R . P:
-67.519
R . B:
-49.898
Next, you will set the
Global Illumination
attributes in the
Render Settings
area.
7. Choose the
Edit Render Settings
tool from the Command palette; the
Render Settings
window is displayed. In this window, choose the
Effect
button; a flyout is displayed.
Choose
Ambient Occlusion
from the flyout; the ambient occlusion attributes are ap-
plied to the scene.
8. In the
Render Settings
window, choose the
Effect
button; a flyout is displayed. Choose
Global Illumination
from the flyout; the global Illumination attributes are applied to
the scene. Now, close the
Render Settings
window. Press CTRL+R to render the scene.
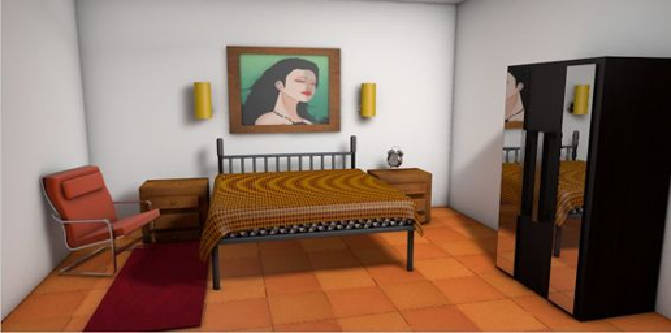
Figure P2-20 displays the final rendered scene.
Figure P2-20
The final rendered scene
Search WWH ::

Custom Search