Graphics Programs Reference
In-Depth Information
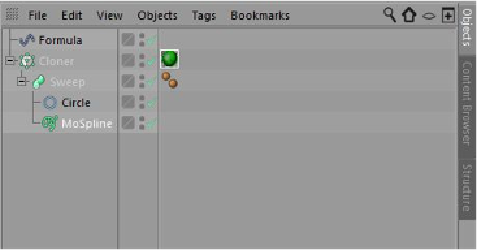
Figure 12-30
The objects in the Object Manager
Saving and Rendering the Scene
In this section, you will save and render the scene. You can also view the final rendered se-
quence by downloading the file
c12_cinema4d_r16_rndr.zip
from
www.cadcim.com
. The
path of the file is mentioned at the beginning of the chapter.
1. Choose the
Edit Render Settings
tool from the Command Palette; the
Render Settings
window is displayed. Select the
Output
option from the list displayed on the left side
in the
Render Settings
window; the
Output
area is displayed. In this area, enter
200
in
the
To
spinner; the
Frames
option gets updated automatically to
201 (from 0 to 200)
.
2. Select the
Save
option from the list displayed on the left side in the
Render Settings
window; the
Regular Image
area is displayed. In this area, make sure that the
Save
check box is selected. Next, choose the browse button located next to the
File
spinner;
the
Save File
dialog box is displayed.
3. In the
Save File
dialog box, browse to
\Documents\c4dr16\c12
and enter
c12tut4
in the
File name
text box. Next, choose the
Save
button.
4. Select the
QuickTime Movie
option from the
Format
drop-down list. Next, close the
Render Settings
window.
5. Choose the
Render to Picture Viewer
tool from the Command Palette; the
Picture
Viewer
window is displayed; the rendering begins and is automatically saved at the spe-
cified location.
Self-Evaluation Test

Search WWH ::

Custom Search