Hardware Reference
In-Depth Information
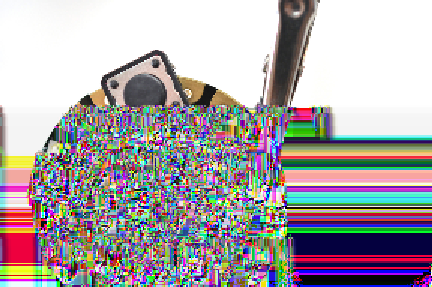
This big tactile button (
Figure 7-7
) makes it easy to switch watch
modes by holding down the whole face of the watch for a few
seconds.
Verify that your solder connections are secure by doing a con-
tinuity test with your multimeter. For example, touch one multi-
meter probe to a pad on the accelerometer and the other probe
to the corresponding pad on the FLORA board to check the con-
tinuity. Your multimeter should give an audible beep, or a visual
reading to confirm it is a solid connection. Read your multime-
ter's manual to learn how to use its continuity checker.
Before you proceed, test the GPS and accelerometer with the
sample sketches provided with their respective code libraries
(
Adafruit-GPS-Library
and
Adafruit_LSM303DLHC
). The next
steps will make it hard to correct any bad solder joints or stray
wires, so don't skimp on testing the circuit now!
Glue the NeoPixel ring to your FLORA, lining up the PCB edges
exactly. Don't pinch the two boards together too much—there
should be a cushion of glue separating them. Use a toothpick to
fill in any gaps with more adhesive—for instance, near where the
GPS wires route under the board.
Figure 7-7.
Switch placed on the FLORA NeoGeo Watch
The watch code allows you to adjust which LED is at 12 o'clock,
so the orientation of the ring doesn't matter.
Allow the glue to set for at least an hour before trimming, strip-
ping, and soldering the ring's wires to pads on your FLORA,