Graphics Programs Reference
In-Depth Information
2.
Check the
Use background aspect ratio
option to avoid the image to be
stretched or distorted.
3.
Set the
Image Format
to
JPEG
.
4.
In the
Render Quality
section, set the
Preview render quality
and
Final
render quality
to
Good
and
Best
, respectively. Note that the processing time
will increase as you increase the image quality.
5.
Leave the other default options and click
OK
.
6.
On the View Toolbar, click
View Settings > Perspective
.
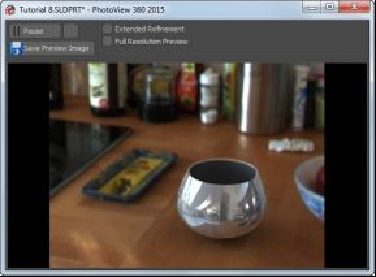
7.
On the CommandManager, click
Render Tools > Preview Window
.
Notice the preview of the rendering.
8.
On the CommandManager, click
Render Tools > Edit Scene
.
9.
On the PropertyManager, click the
PhotoView 360 Lighting
tab.
On this tab, you can adjust the
Background brightness
,
Rendering brightness
, and
Scene
reflexivity
. You can also rotate the environment using the
Environment Rotation
dragger.
10.
Leave the default settings on the PropertyManager and click
OK
.
11.
Click the
Final Render
icon on the
Render Tools
tab. The
Final Render
window appears and rendering is processed. You can click the
Abort
button on
the Final Render window, if you want to stop the rendering process.
12.
Click the
Statistics
tab to view various statistics of the rendering such as pro-
cessing time, elapsed time and so on.
After the image is rendered, you can switch between the
Final Color Output
and
Alpha
Output
using the
Output
drop-down.