Hardware Reference
In-Depth Information
9.
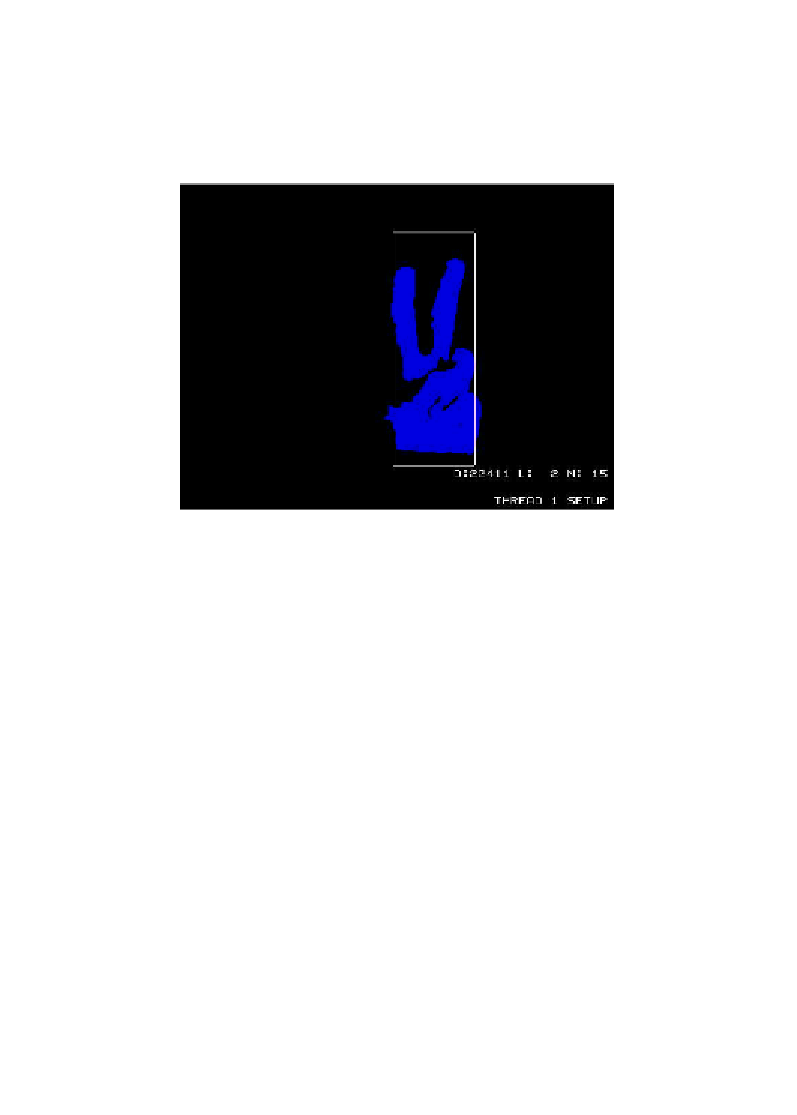
Switch back to your camera tab (
http://[IP address]:8081
); you'll be
viewing the camera in setup mode. Now wave your hand in front of the
webcam again; you'll see the largest areas of changed pixels highlighted in
blue, and minor changes in gray tones. You'll also notice three counters—
D
:
for difference in pixels,
L
: for labels (connected pixel areas), and
N
: for
noise levels.
Motion camera in setup mode
The configuration directives you'd want to tweak if you find that the motion detection
is performing poorly can all be found under the
Motion Detection Settings
section of
the configuration file.
Collecting the evidence
Now that we've established an initial working Motion setup, we have to decide
what actions we want the system to take upon detection. Sounding an alarm, saving
images and videos of the detected activity, logging the activity to a database, or
alerting someone via e-mail are all valid responses to detection. To learn how to
set up e-mail alerts on detection, take a look at the
Sending e-mail updates
section in
Chapter 5
,
Taking Your Pi Off-road
.
Let's create a directory to hold our evidence:
pi@raspberrypi ~ $ mkdir ~/evidence
We're going to revisit the Motion configuration file, but this time, we're setting up
the system for use in the real world. Once again, we'll go through the configuration
file and pause to explain or change options, from top to bottom. You'll need to type
in the following command first to open the file for editing:
pi@raspberrypi ~ $ nano ~/.motion/motion.conf