Hardware Reference
In-Depth Information
4.
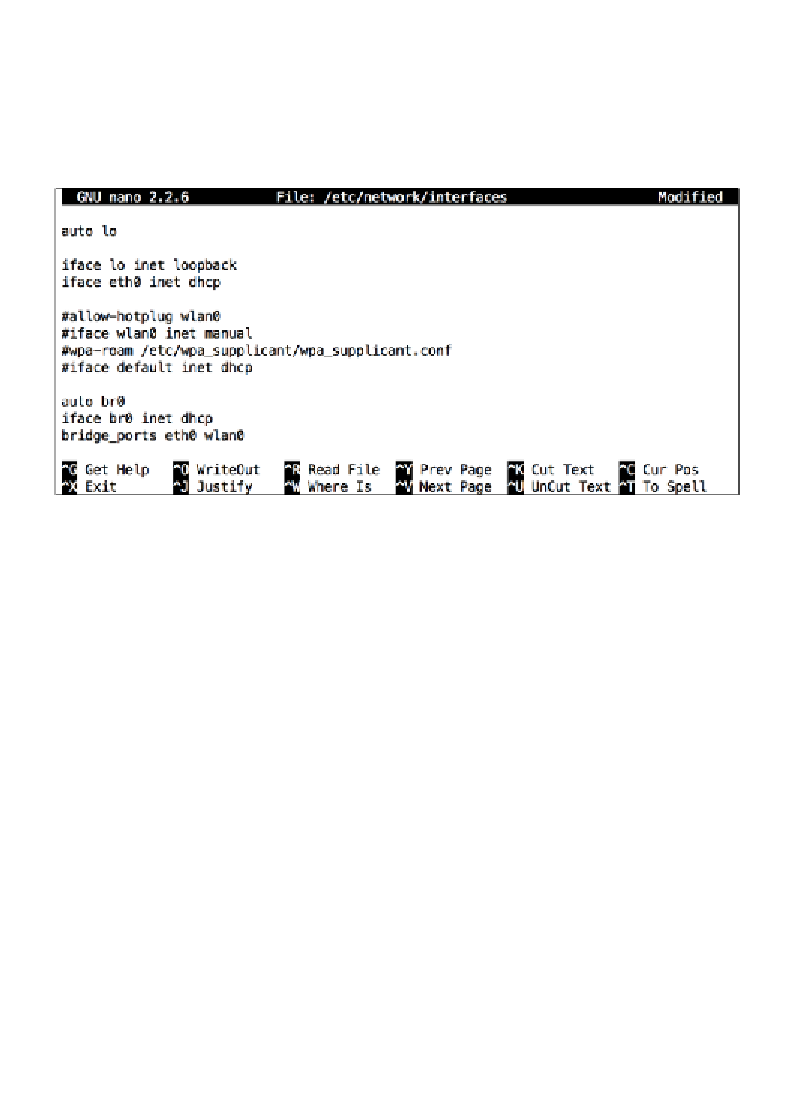
Optionally, if you would like to share a wired Internet connection with the
wireless clients, add the following three lines to create a bridge between the
Ethernet and Wi-Fi interfaces:
auto br0
iface br0 inet dhcp
bridge_ports eth0 wlan0
Adding a bridged Wi-Fi interface on the Raspberry Pi
5. Save and exit
nano
, then reboot your Pi.
6. Next we need to copy an example configuration for
hostapd
in place
and open it up for editing with the following command sequence:
pi@raspberrypi ~ $ sudo cp /usr/share/doc/hostapd/examples/
hostapd.conf.gz /etc/hostapd
pi@raspberrypi ~ $ sudo gunzip /etc/hostapd/hostapd.conf.gz
pi@raspberrypi ~ $ sudo nano /etc/hostapd/hostapd.conf
7. While the configuration is quite long, most options have reasonable defaults
and only a few things need to be changed. Press
Ctrl
+
W
to quickly find and
navigate to a particular line. We will go through the configuration and make
stops to explain or change options, from top to bottom:
°
bridge=br0
: Uncomment this line to allow
hostapd
to share the
wired Internet connection by creating a bridge between the Ethernet
and Wi-Fi interfaces
°
ssid
: Change this line to choose a name for your access point