Hardware Reference
In-Depth Information
Creating an ad hoc Wi-Fi network
Since there won't be a DHCP server to hand out IP addresses to our two network
devices, what we want to do is assign static IP addresses on both Pi and laptop.
We can pick any two addresses from the private IPv4 address space we saw in the
Mapping out your network with Nmap
section in
Chapter 4
,
Wi-Fi Pranks - Exploring
Your Network
. In the following example, we'll use
192.168.10.1
for the Pi and
192.168.10.2
for the laptop:
1.
Type in the following command on the Pi to open up the network
interfaces configuration:
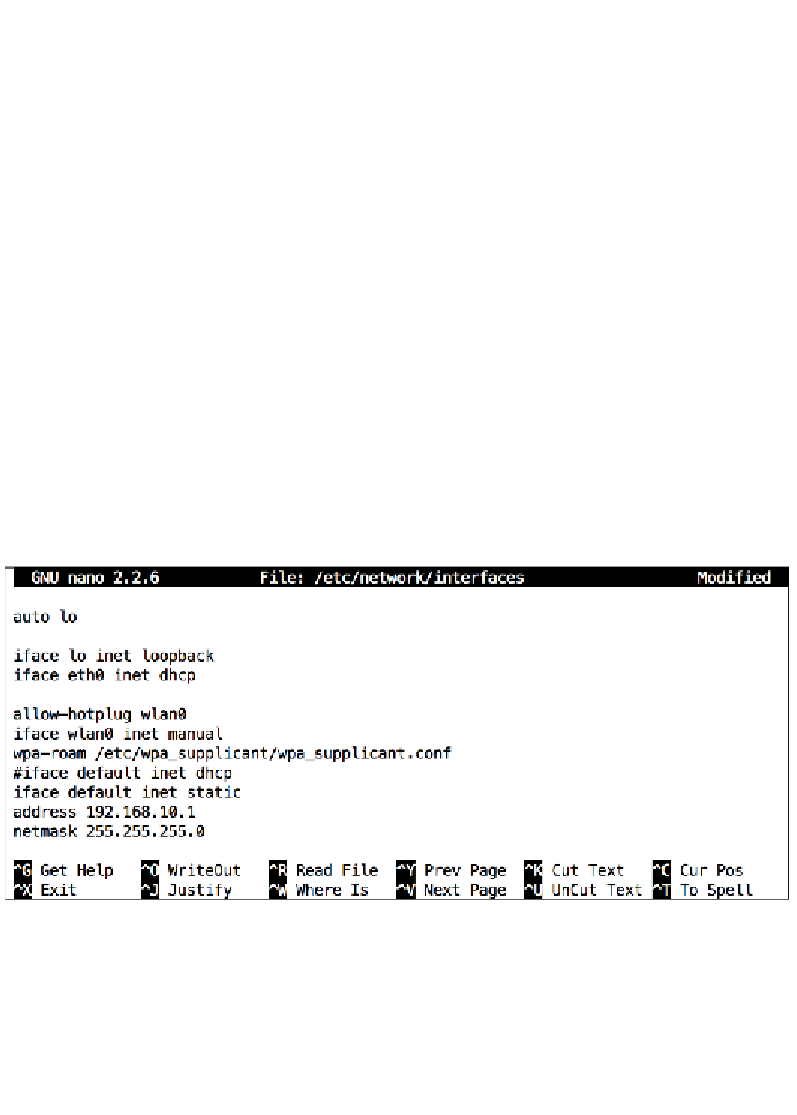
pi@raspberrypi ~ $ sudo nano /etc/network/interfaces
2. Now find the line that says
iface default inet dhcp
and put a
#
character
in front of the line to temporarily disable requesting an IP address from a
DHCP server. Then add the following three lines beneath:
iface default inet static
address 192.168.10.1
netmask 255.255.255.0
3.
Press
Ctrl
+
X
to exit and select
y
when prompted to save the modified
buffer, then press the
Enter
key to confirm the filename to write to.
Adding a static IP address to a Wi-Fi connection on the Raspberry Pi
4. Next, we need to open up the Wi-Fi configuration file to set up the ad hoc
network itself:
pi@raspberrypi ~ $ sudo nano /etc/wpa_supplicant/wpa_supplicant.
conf