Graphics Reference
In-Depth Information
Element 3D simply won't recognize that your shapes are objects that are separate
from your lamp (because of the export/import process). The way Element 3D breaks
objects up from one file into several items is done through
surfaces
(textures, shaders,
or materials).
First, make sure that all of your lampshades are centered over your light sockets.
The exact procedure covered here differs slightly from 3D package to 3D package,
but the principles are the same. For each object and each different surface, assign
a unique shader.
The colors that you use in your modeling software are irrelevant to Element 3D;
we're going to use primary colors so that we can keep track of what's what.
Lamp shades
Let's start with lamp shades. We may want to put some patterns on them later
(we're making a kind of Tiffany style lamp here). So, we want to create what's
called a UV pattern for any images we paste to the object that follow.
What are UVs?
UV mapping would make a lot more sense if it were called XY mapping. However,
x
and
y
are already in reference to world coordinates. U is a horizontal axis in reference
to a polygon, and V is the vertical of that polygon. If you image an object wrapped like
a Christmas present, the world XYZ orientation of the UV map changes from polygon
to polygon, and therefore, the map wraps around an object just like a wrapping paper.
Generating an exact UV map tells the software how you want the paper (texture)
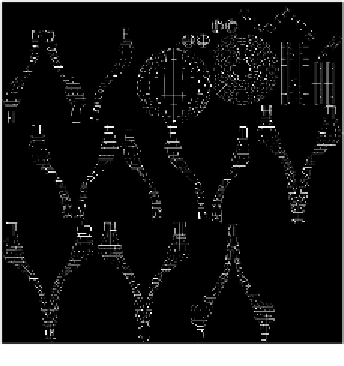
wrapped around the present (object). The following screenshot shows you an
example of a UV map for the lamp base object:


