Graphics Reference
In-Depth Information
7.
Scale the shape up to
142.80
and scale the particles down to
4.79
.
8.
Finally, make the color tint pure white and turn on the ambient occlusion
with an intensity of
9.5
.
9.
In
Render Settings
, enable glow from
Luminance
with an intensity of
2.1
and radius of
1.4
.
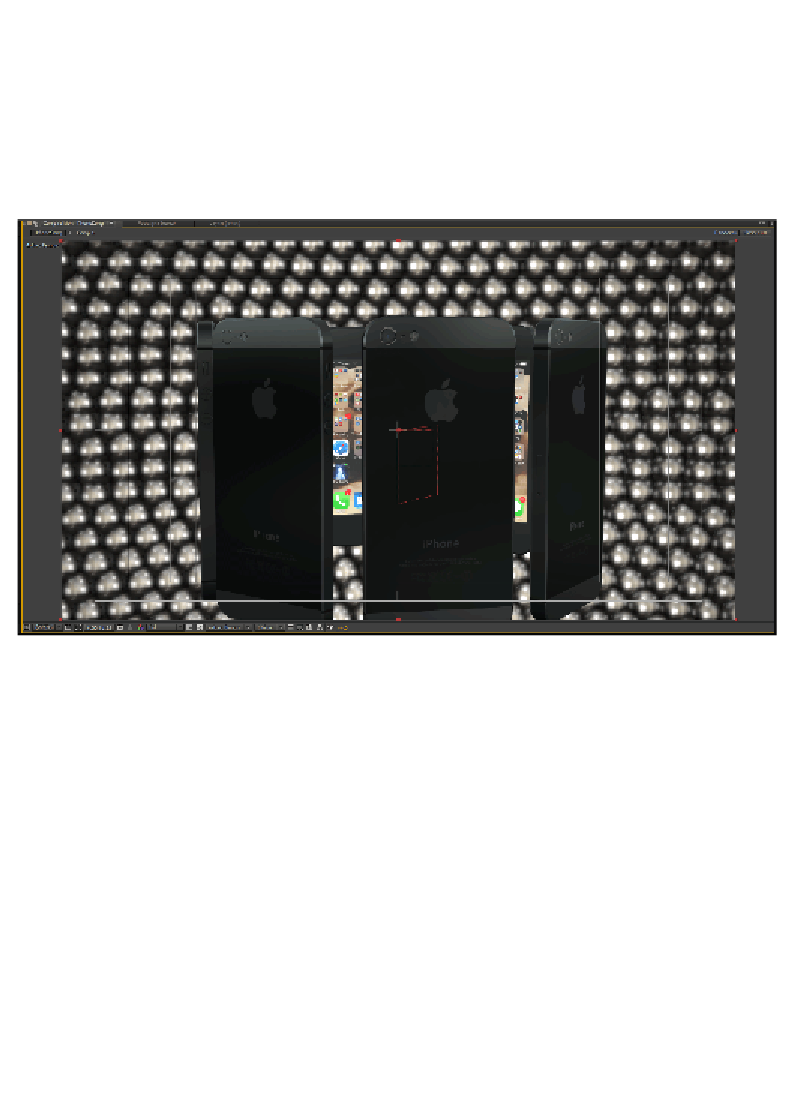
The result should look like the following screenshot:
Having the background react to audio
In the downloadable content, you'll find an audio file called
iPhoneSong-Drums.
wav
. This is really just the bass drum with some effects so that it has a taper on its
intensity. We'll use this to create an expression to animate our background.
1.
Import
iPhoneSong-Drums.wav
and place it in the timeline. Be sure to
turn off this layer's audio (by clicking on the little speaker). We want this
file used but not heard on output.
2.
Right-click on the new audio layer and select
Keyframe Assistant
and then
select
Convert Audio to Keyframes
. This will create a new layer with three
effects in it. The new layer is named
Audio Amplitude
. The effect we'll be
using to drive our expression is the
Both Channels
expression. This effect
essentially just has a value that corresponds to the amplitude of the audio
file we generated from keyframed on every frame of video. Cool eh?