Database Reference
In-Depth Information
6.
From the
To o l b o x
tab in the
Insertable Objects
pane, drag a
Ta b l e o f C o n t e n t s E n t r y
directly to the left of
Current manager
in the
Page Body
.
7.
In the work area, click the newly added
Ta b l e o f C o n t e n t s E n t r y
to select it.
8.
In the
Properties
pane, change the
Heading Level
property to
2
.
This means that the entry will be a subheading rather than the heading in the table of
contents.
9.
In the
Explorer Bar
, mouse over the
Page Explorer
tab and select
Training by
Manager
.
10.
From the
To o l b o x
tab of the
Insertable Objects
pane, drag a
Ta b l e o f C o n t e n t s E n t r y
object to the left side of the header layout component reference.
11.
Drag a
Ta b l e o f C o n t e n t s E n t r y
directly to the left of
Current manager
in the
Page
Body
.
12.
In the work area, click the newly added
Ta b l e o f C o n t e n t s E n t r y
to select it.
13.
In the
Properties
pane, change the
Heading Level
property to
2
.
14.
In the
Explorer Bar
, mouse over the
Page Explorer
tab and select the
Ta b l e o f C o n -
tents
page.
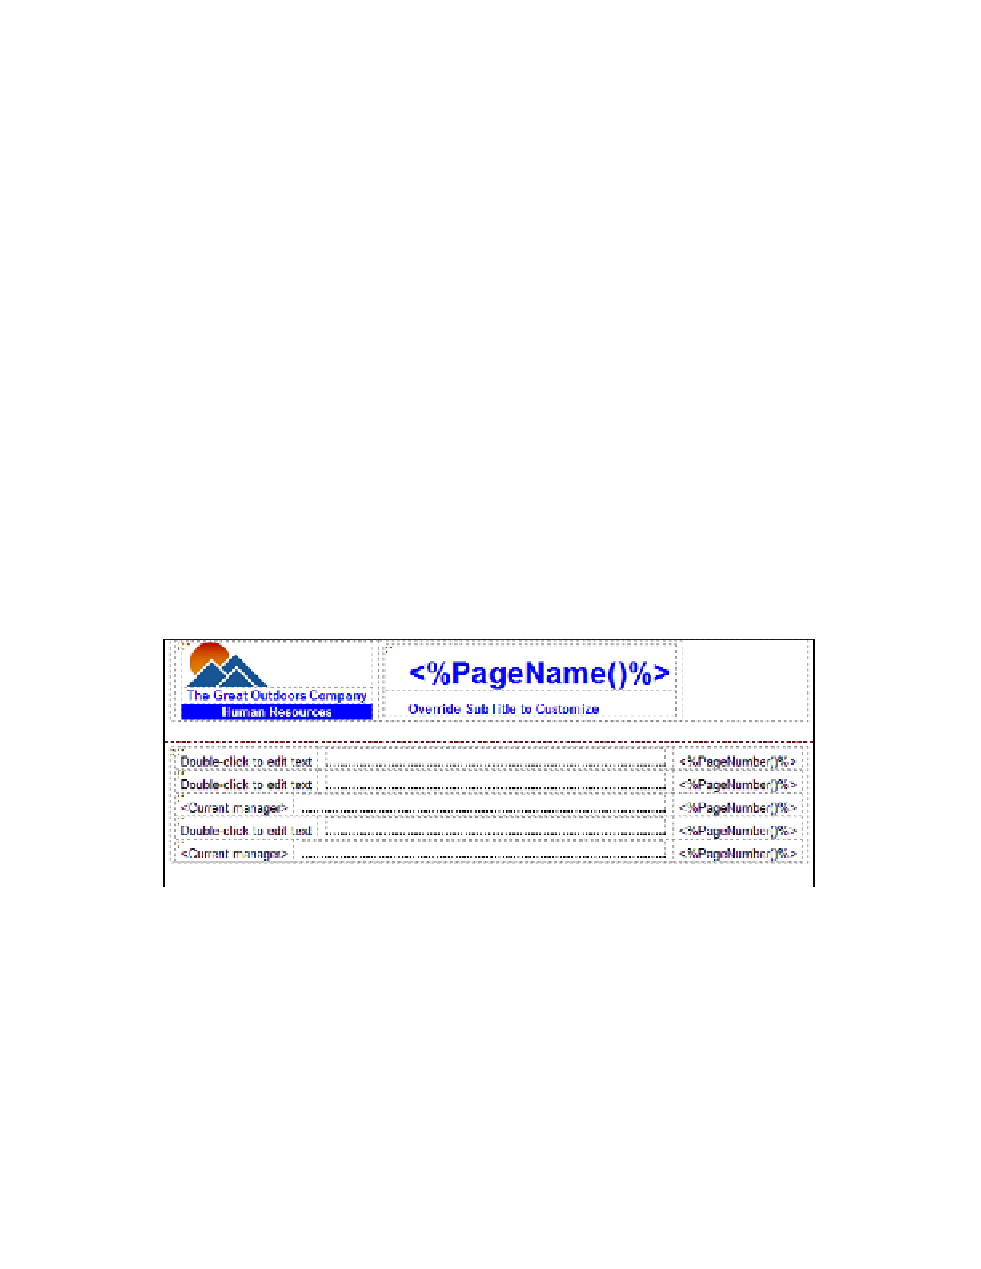
With the references to all the newly added entries, the page should match what's shown in
Figure 3.31.
Figure 3.31
Ta b l e o f c o n t e n t s p a g e w i t h entries
Step 7: Complete the Design of the Table of Contents
On the Table of Contents page, there are three empty text fields. We want to replace the empty
text with the page name of each page. The two entries that say Current manager are level-two
headings and should be indented. Finally, the subtitle should display the same parameter infor-
mation as the three detail report pages.