Graphics Programs Reference
In-Depth Information
If a building model has already been started in a separate file (for example, an as-built
model that you're verifying with the laser scan), it is recommended that you align the first
point cloud you've inserted by linking this point cloud file into your project model.
The best way to align the point cloud and building model is to find a good location where the
building geometry is well defined and the point cloud is clear. Ideally this will occur
at a wall, floor, or other piece of static geometry that is shared between your model and the
point cloud. This essentially becomes your 0,0 point for the model and cloud
relationship.
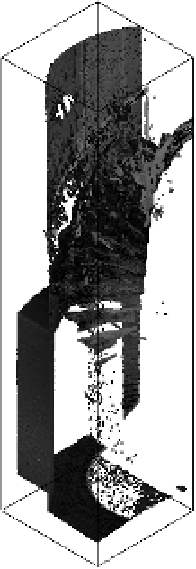
If visibility within your view is problematic, you can limit the view range or apply a section
box. This will allow you to limit the number of points within the view to get a decent reading;
otherwise, too many points can get unclear and overwhelming (Figure 21.12).
Figure 21.12
use a section
box to limit the
display of a point
cloud.
Modeling with a Point Cloud
Back to our model and working with the point cloud. So far, we've contacted a laser scanner
provider, gotten a scan performed, and collected the scan data. Revit has processed the native
point cloud file into an RCS file, and we've inserted that into our model. What we need to do
next is begin creating the model content.
We're going to start creating this content with the keeper's quarters, the small building
attached to the base of the Revit model. To effectively work on this part of the building, you
need to isolate this portion of the point cloud from the tower.