Graphics Programs Reference
In-Depth Information
Importing a Design Review Markup
Once you've added markups to the DWFx file, save the file and close Design Review. You can
then link the marked-up DWFx file back into the RVT project file. Continue to use the sample
file from the previous exercise. You can also download the file c19-Sample-MarkedUp.dwfx
from this topic's companion website at
www.sybex.com/go/masteringrevit2015.
This file
already contains some markups to use in the following exercise. Follow these steps to import
the marked-up file into the project file:
1.
On the Insert tab, choose DWF Markup from the Link panel and then select the DWFx file
you saved in the previous exercise.
This is a simple import dialog box. There are no settings in the window.
When you select a DWFx file, only the markups will be shown, not the entire DWFx file.
If there are no markups in the file, nothing will be visible in Revit.
2.
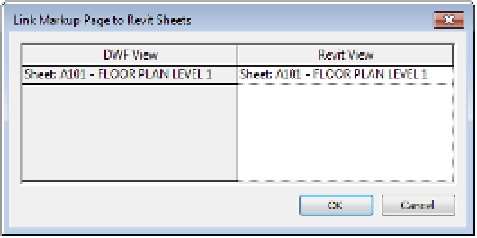
In the next dialog box (Figure 19.12), you will see the views in the DWFx file that contain
markups and the sheets in the Revit project to which they will coordinate. You can insert
all the markups or only specific sheets. Select the sheets you'd like to import, making sure
to select A101, and click OK.
Figure 19.12
sheets with associ-
ated markups are
shown.
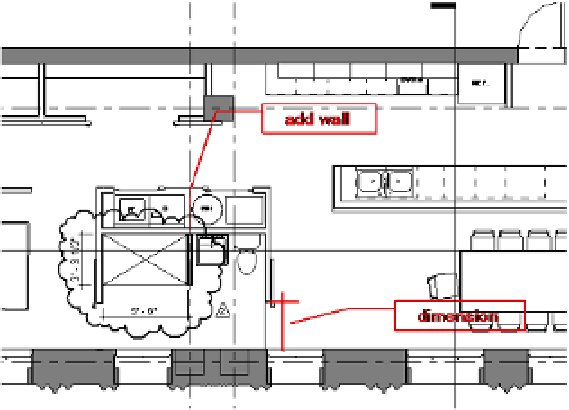
3.
Open sheet A101 from the Project Browser, and you will see the markup as an overlay in
the same location where it was created in Design Review (Figure 19.13).
Figure 19.13
he marked-up sheet
linked into revit