Graphics Programs Reference
In-Depth Information
4.
From the Show In List drop-down, select Sheets In The Model, and then select sheets
A101 and A102.
These sheets will be added to the set to be published.
You can sort the list of views by any of the columns by clicking a column header. Try this
by clicking the Name header.
5.
To check the export size, select the DWF Properties tab and click the Print Setup button.
In the resulting dialog box, you can set explicit sizes for your export. Click the option Use
Sheet Size to automatically detect sheet sizes based on the title blocks you are using in the
project.
This dialog box mirrors the one used for printing.
6.
Click Next and specify the name of the file and a location in which to save it. Make sure
you check the box to combine all sheets into a single DWFx file (see Figure 19.10).
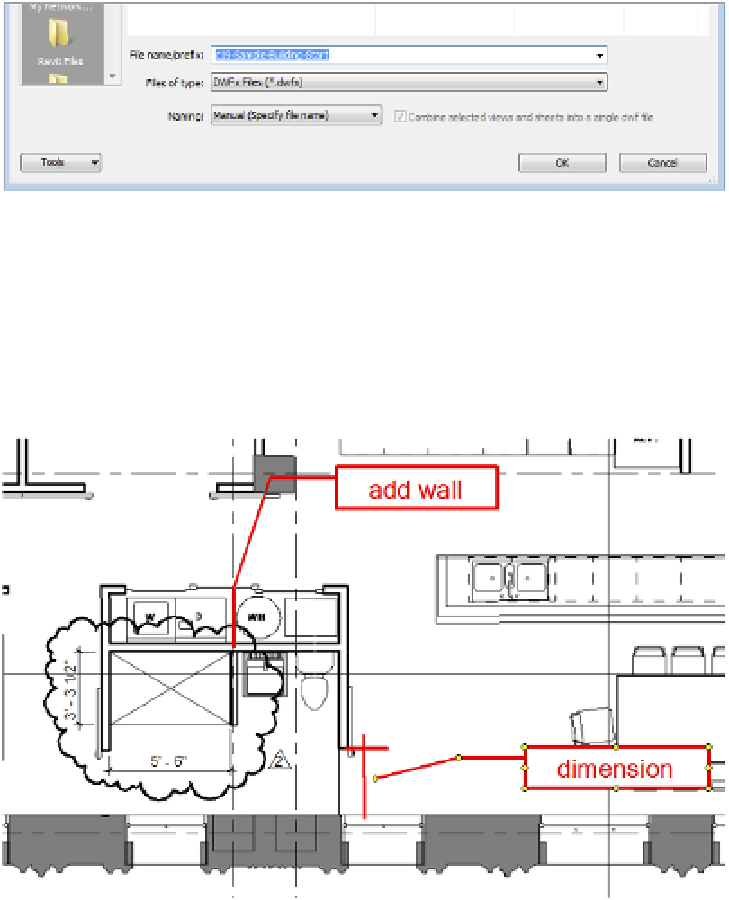
Figure 19.10
Manual file naming
is available when
you combine views
for publishing.
7.
Open the published DWFx file in Autodesk Design Review. Choose the Markup &
Measure tab, and then add a few comments and markups on the A101 sheet.
Using the Shapes and Draw tools on this tab, you can add clouds, arrows, and text to insert
your comments or changes into the drawings. This can be done in a variety of colors and line
weights to give them extra visibility on the page. Once all your changes are created, save the file
and it will retain all your changes. Figure 19.11 shows an example of a markup.
Figure 19.11
a marked-up DWFx
file