Graphics Programs Reference
In-Depth Information
editing Dimension Strings
As you continue to annotate your project with dimensions, you will likely need to edit
dimension strings to combine, split, or add new witness lines. Most of these editing functions
can be done with the Edit Witness Lines command. You will find this command in the
contextual ribbon when you select a dimension string in a view.
Let's walk through each of these dimension-editing scenarios with some exercises.
Download and open the file c18-Dimensions-Start.rvt or c18-Dimensions-Metric-Start
.rvt from this topic's companion website at
www.sybex.com/go/masteringrevit2015.
Then follow these steps:
1.
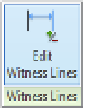
Activate the Level 1 floor plan and zoom in to the lower-left portion of the layout. You
will see that some dimensions have already been placed and you will need to edit them
(Figure 18.37).
Figure 18.37
sample project
with dimension
strings
2.
Select the lower dimension string (indicated as A in the view) and then click the Edit
Witness Lines command in the contextual ribbon.
3.
Click on the next vertical wall segment to the right of the layout and then the corner
point. You might need to press the Tab key to place the dimension on the outer face of the
wall and to snap to the angled corner.
4.
To complete this editing command, click an open area of the view. Do not press the Esc
key or you will lose the edits you just made.
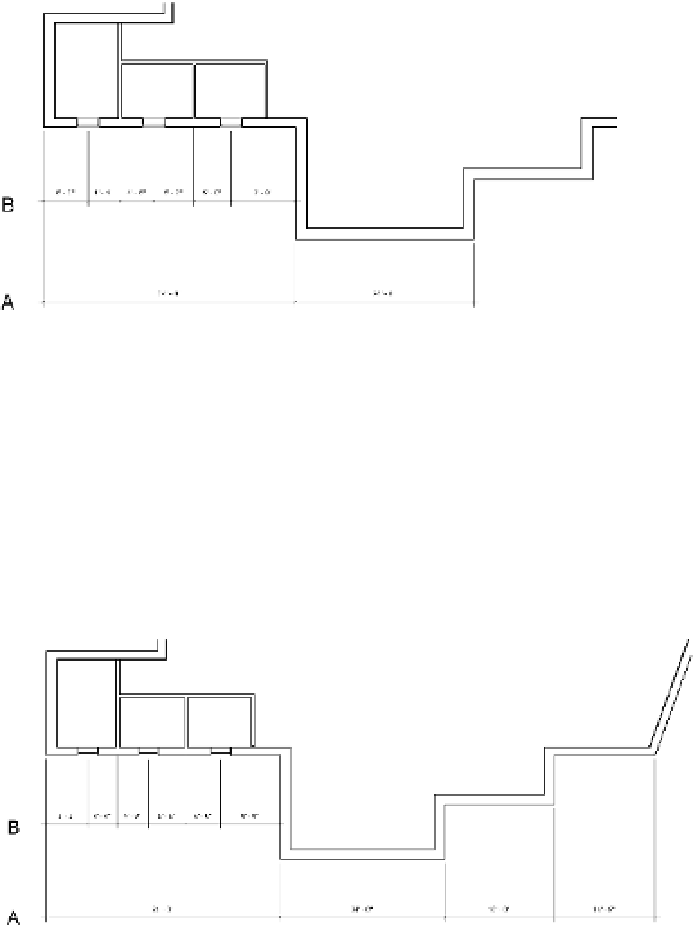
The results should look like Figure 18.38.
Figure 18.38
Adding witness
lines to a dimen-
sion string