Graphics Programs Reference
In-Depth Information
Keep in mind that you can also tag elements that are in linked models. While you cannot
edit the properties of these elements (for example, you cannot change the wall type or door
number), you can add tags to any of the linked elements as if the same elements were part of
your project file.
Tags are versatile elements for annotating your designs. A tag can display a door number,
but it can just as easily display any other properties of the door, such as fire rating, cost, or
material type.
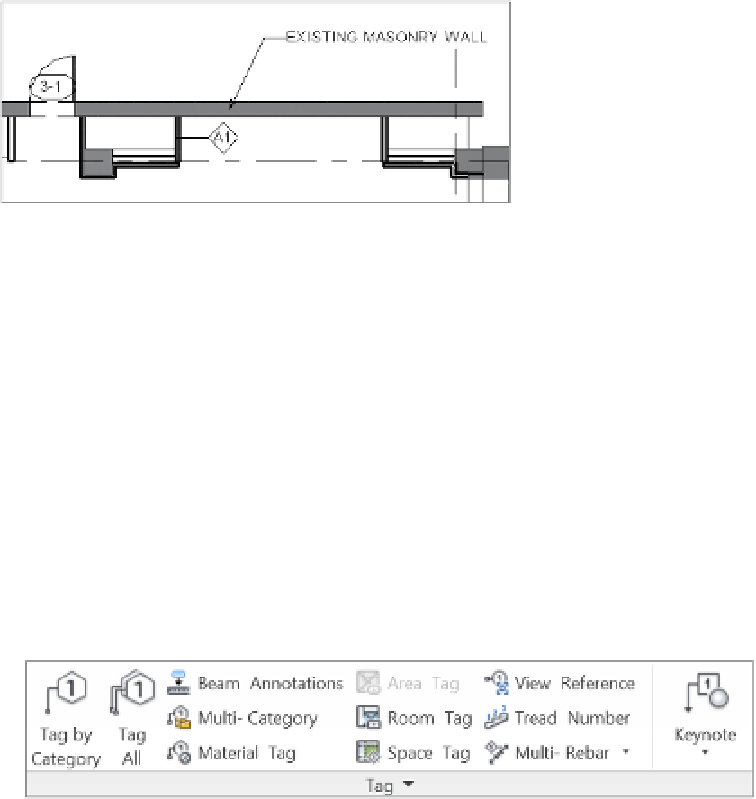
Inserting Tags
Tags can be automatically inserted when a model element, such as a door or room, is placed
within the project (by checking the Tag On Placement option in the contextual tab of the ribbon),
or they can be inserted later. The options to place a tag are all located on the Tag panel of the
Annotate tab (Figure 18.22).
Figure 18.22
tag tools in the
Annotate tab
When you're adding tags, it's not necessary to find or choose the right tag—they will be
assigned automatically. Tag families are specific to the elements to which they are being tagged.
For example, you use a door tag to tag a door, but you can't use a door tag to tag a wall or other
element within the project. Figure 18.23 shows you some of the tags that are available; there
is a tag for each type of object. You can customize each of the tag family types so you can
graphically differentiate your door tags from wall tags, room tags, area tags, and so on.
When inserting a tag, you'll have several placement options available in the Options bar, as
shown in Figure 18.24.
Orientation
The first option allows you to orient the tag horizontally or vertically. Tags, like
text, will always read from either the bottom or right side of the sheet or view.
The Tags Button
Clicking this button opens the Tags dialog box, where you can load
various tags.