Graphics Programs Reference
In-Depth Information
Saving a Single Detail
If you are working in a detail view of the model or a drafting view, you can save all of the 2D
elements to an external file for reuse in other Revit projects. In the case of a single 2D detail, it
can be quick work to get the file from one project to the next:
1.
Open the file with the detail you'd like to collect, and activate the view in which this
detail appears. Select all the 2D geometry and annotation within the drafting view, and
create a group using the Create Group button on the contextual tab of the ribbon.
Note that if you are in a callout or detail view in which model elements are displayed,
two groups will be created—a model group and a detail group.
2.
Give the group a name, making sure the name is unique enough not to overlap with any
view names in your current project or the project you're going to import into.
3.
With the detail grouped and named, expand the Groups node in the Project Browser.
Now, expand the Detail Group node and find the group you just created. Right-click the
group and choose Save Group from the context menu.
4.
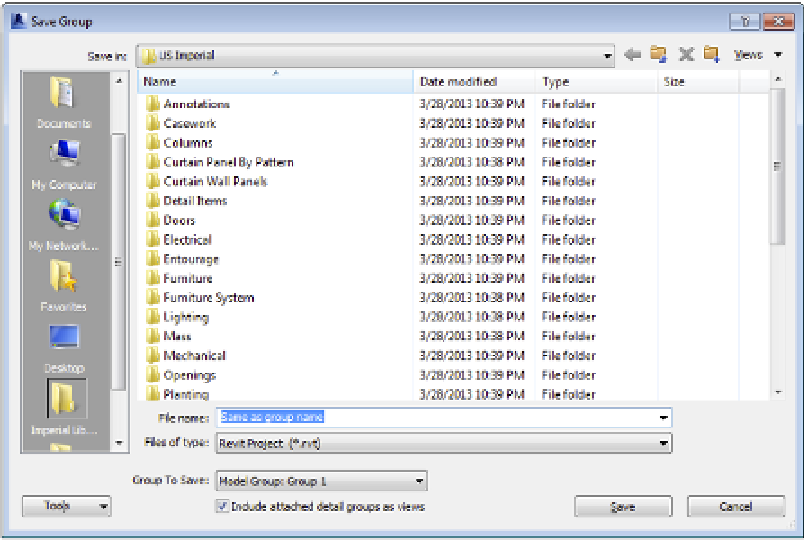
As part of the Save As process, you'll get the Save Group dialog box (Figure 16.32). This
will allow you to create a separate RVT file for your group—basically a stand-alone
project file. Save the group in a location where you'll be able to find it again and close
your project file. There's no need to name the group because the new file will reflect the
group name.
Figure 16.32
he save group
dialog box