Graphics Programs Reference
In-Depth Information
1.
From the Annotate tab in the ribbon, click the Insulation tool. In the Options bar, set the
Width value to
5
ʺ (
150
mm) and the Offset to 0ʺ To Center.
You can customize the Offset value depending on how you would like to sketch the
insulation.
2.
Within the wall assembly, hover the mouse pointer at the midpoint of one of the nominal
wood framing detail components you placed previously in this chapter. Use the midpoint
snaps of the framing components to set the start point and end point of the insulation
component.
3.
Continue to add insulation components in the remaining wall, floor, and roof structure
layers in the detail view.
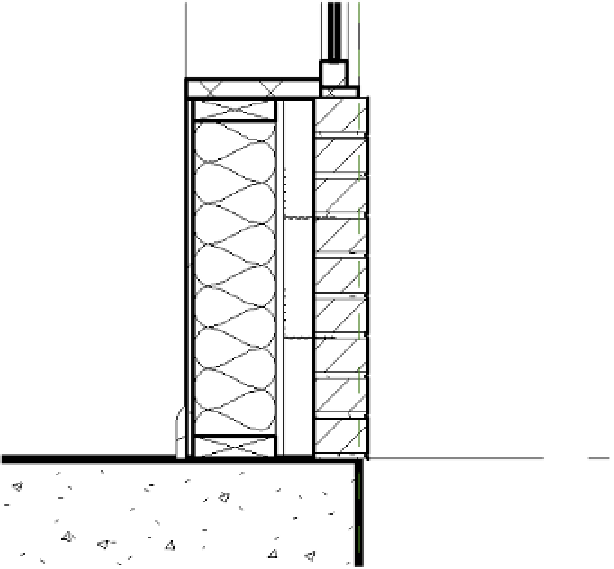
A sample of the result is shown in Figure 16.24.
Figure 16.24
insulation detail components
added to the wall section
Creating Detail Groups
Detail groups are similar to blocks in AutoCAD and are a quick alternative to creating
detail component families. They are collections of 2D graphics and can contain detail
lines, detail components, or any other 2D elements. You will probably want to use a
detail component to create something like wood blocking; however, if you plan to have the same
configurations of wood blocking in multiple locations, you can then group those configurations
and quickly replicate them in other details. As with blocks in AutoCAD, manipulating one of
the detail groups will change all of them consistently.