Graphics Programs Reference
In-Depth Information
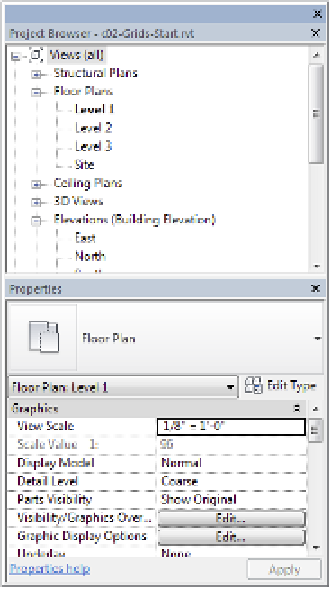
Figure 2.13
properties and
project Browser
combined in
a tabbed or
stacked palette
Drawing Area
The drawing area is the window into your design space. As shown previ-
ously in Figure 2.1, you can tile several views from any number of open files or you can
maximize the view windows. When the view windows in the drawing area are maximized,
press Ctrl+Tab on the keyboard to cycle through the open views. To reverse the cycling, press
Ctrl+Shift+Tab.
If you decide to use tiled views when you work in Revit, you should be aware of a subtle limita-
tion. You'll be able to zoom into only the extents that are defined by the drawing area. If you
want to get around this limitation, here's a helpful tip:
Create a new sheet, but then delete the sheet border. This is your “working” space for any view
of the project. Now you can create duplicate views of any of your project views and assemble
them in this working space (Figure 2.14). Zooming in and out is much more fluid, and you're
not limited to the extents of one drawing area. You can create a keyboard shortcut to activate
and deactivate views, which is helpful as well.
View Control Bar
The view control bar is at the bottom of every view and changes slightly
depending on the type of view (Figure 2.15). For example, sheet views have only four buttons
and perspective views don't have a scale option. In Figure 2.15, we have tiled three view win-
dows to illustrate some of the differences in the view control bar. From top to bottom, you can
see a drafting view, a plan view, and a 3D view.


