Graphics Programs Reference
In-Depth Information
Creating a Dormer Step by Step
roofs with dormers generally cause grief for architects, so we'll guide you through the creation
of one:
1.
Create the base of a building, set up three levels, and create a roof by footprint with defines
slope checked for all sides.
2.
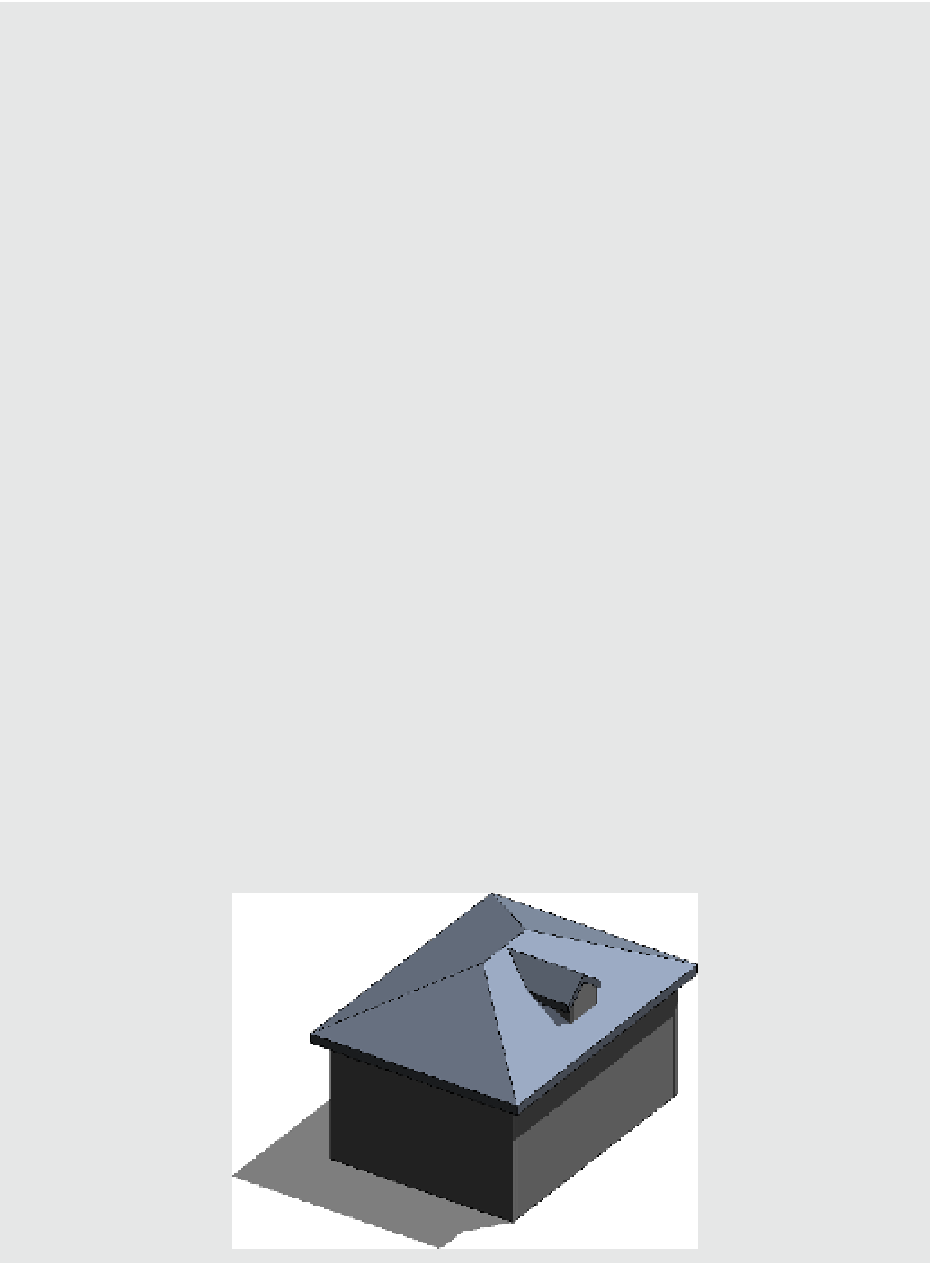
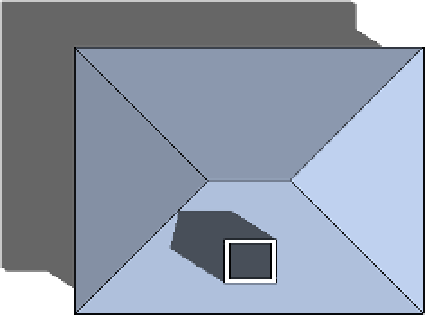
approximately in the position indicated in the following illustration, on level 2 create the four
walls of a dormer. set their height to a value that makes them extend above the roof.
For easier verification, create a cross section through the dormer to check the height of the
dormer walls and, if necessary, modify their height in the properties palette so that they
extend above the roof.
3.
Using the roof By Footprint tool, create a pitched roof on top of the dormer walls.
4.
if you switch to a side elevation view, you will notice that the dormer roof probably does not
extend to meet the main roof, so you will need to use the Join/Unjoin roof tool, located in the
Modify tab in the edit geometry panel, to join the main roof and the dormer. select the Join/
Unjoin roof tool, select the main roof as the target, and then select the edge of the dormer
roof to extend it.