Graphics Programs Reference
In-Depth Information
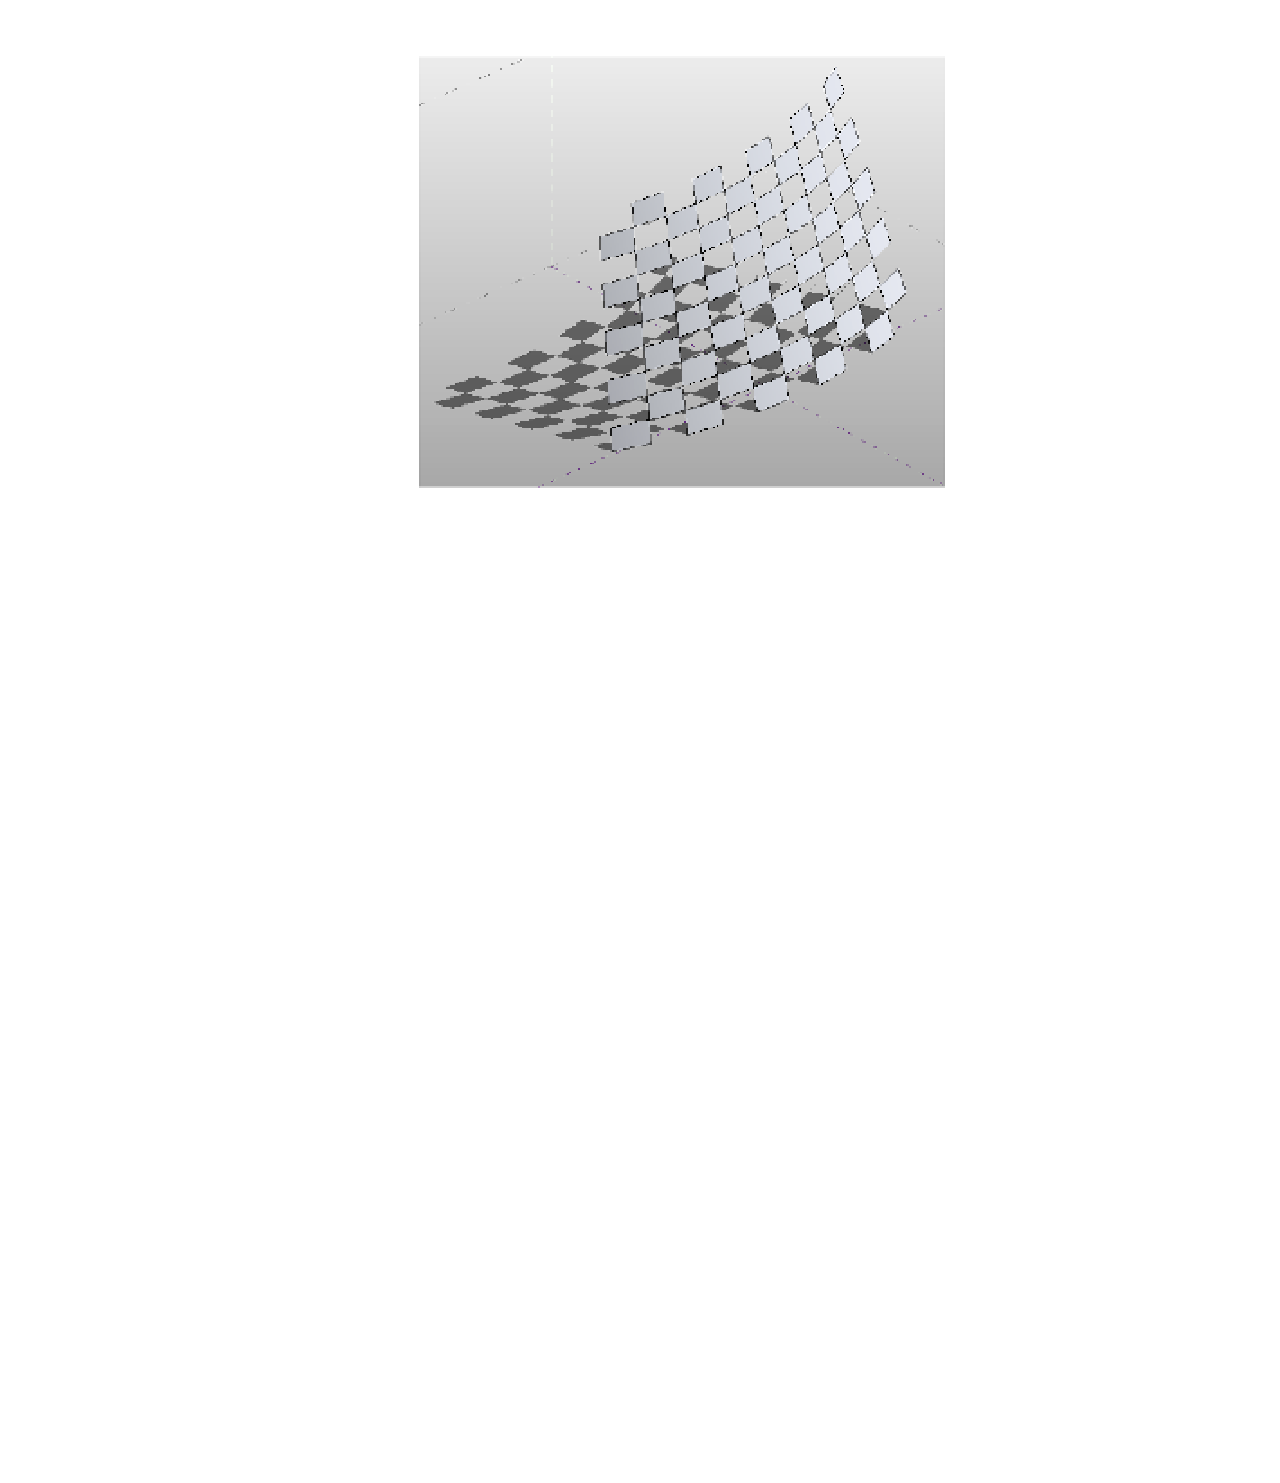
Figure 12.54
surface with
rectangle
Checkerboard
Pattern applied
3.
Experiment with the various predefined patterns and adjust the UV grid as required to
play with the proportions of the patterns.
At any time, you can display both the underlying surface divisions and the pattern surface.
With the grid selected, click the Surface button in the Surface Representation panel on the
Modify | Divided Surface tab. This display should give you a better understanding of the
relationship between the pattern definition and the spacing of the surface divisions.
Editing the Pattern Surface
There will be situations where you will want to edit and control the border conditions for
pattern surfaces. Patterned surfaces may have border tiles that intersect the edge of a surface,
and they may not end up as complete tiles. You can control the border tile conditions by setting
them to Partial, Overhanging, or Empty in the Border Tile instance property of the patterned
surface. You will now modify a conceptual curtain wall to examine how the different border
conditions affect the surface:
1.
Start by opening c12-Square-Panel-Border.rfa from this topic's companion website.
2.
Select the surface, and in the Properties palette, locate the Border Tile parameter under
Constraints. Set the value to Empty, and click Apply or drag the mouse out of the
Properties palette.
Notice that the tiles at the borders are no longer visible, as shown in Figure 12.55.
3.
Next, change the Border Tile parameter to Overhanging and click Apply.
The border tiles will now show in their entirety, extending beyond the edge of the
surface.


