Graphics Programs Reference
In-Depth Information
What Can You Phase?
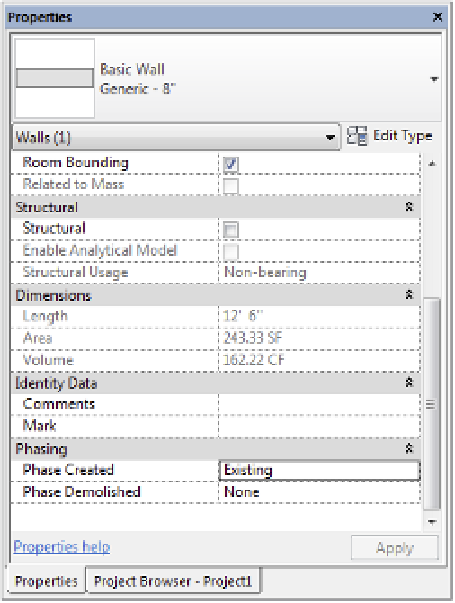
All modeled elements in Revit have two parameters associated with phasing: Phase Created and
Phase Demolished. When you place geometry in a view, the Phase Created property is assumed
to be the phase assigned to that view. For example, if you create a view and set its phase to
Existing, all elements you place in that view will automatically be assigned to the Existing
Conditions phase. After an element is placed in the project, the phase can always be changed in
the Properties palette, as shown in Figure 10.5.
Figure 10.5
Changing the phase
of geometry
Rooms also have phasing properties, but there is an important difference: The Phase
property of a room cannot be changed after placement. As shown in Figure 10.6, the phase is
shown in the Properties palette, but it is read only. If you want to change the phase of a room,
you'll need to delete it and then re-create the room in a view that is assigned the desired phase.
You'll also find it faster to press Ctrl+X to cut the rooms from one view and then press Ctrl+V to
paste them into a view that has been set to the desired phase.
The phase of an element when initially placed is often confusing to a new user, but it is quite
simple: The phase of the view that you're placing the element into determines the element's
phase, as shown in Figure 10.7. This is more critical for rooms than for building elements
because the phase of a building element can be changed after placement. But there may be
occasions when you're placing many elements that you intend to be in a particular phase, and
you'll want to create a view with that phase active. This will allow you to place elements in that
view and not worry about changing their phase later.