Graphics Programs Reference
In-Depth Information
We will first review the settings to be configured for the exporting process. These methods
are similar for almost all exports and will be referred to in subsequent sections.
preparing for CaD Exports
The process for exporting CAD files from Revit has been streamlined in recent releases of the
software. There are basically two steps to export CAD data from a Revit project: create a list of
views to be exported, and define the settings in an export configuration.
The first step to any CAD export is to establish the set of views to be exported. You can use
the file c07-Sample-Building-Start.rvt or c07-Sample-Building-Finish.rvt for this
section's exercises. The following steps will walk you through the process of creating a saved list
of views for export:
1.
You can find all exporting commands by clicking the Application menu and clicking the
Export fly-out. You may need to scroll down this fly-out menu to access all the export
commands available for use. From the Export menu, select CAD Formats
➢
DWG.
2.
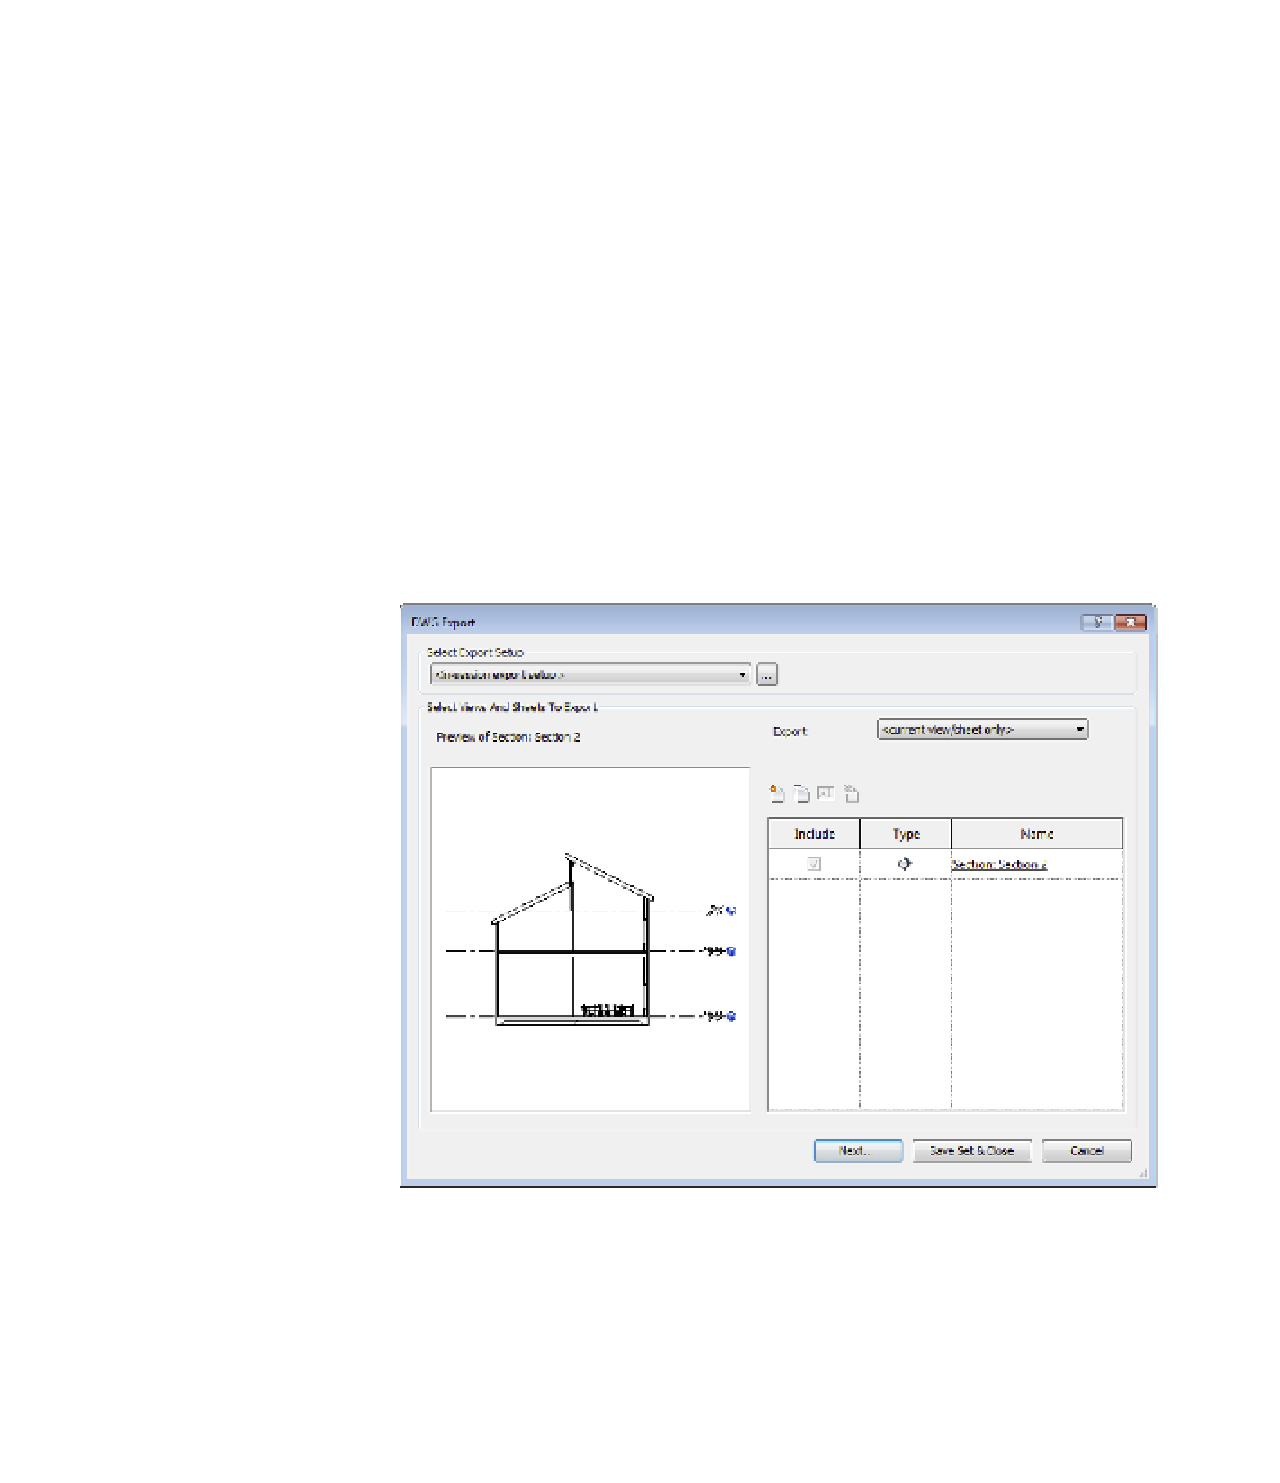
You will first see the DWG Export dialog box, as shown in Figure 7.17.
The Export value is set to <Current View/Sheet Only> by default.
F igu r e 7.17
first view of
export dialog
box
3.
Begin to create your own list of views and/or sheets to export by picking <In-Session
View/Sheet Set> from the Export drop-down list, as shown in Figure 7.18.