Graphics Programs Reference
In-Depth Information
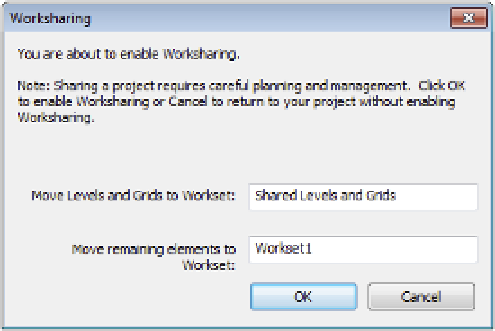
You can initiate worksharing by clicking the Worksets button. It will initially be the only active
button on the panel. Selecting this tool opens the Worksharing dialog box, alerting you that you
are about to enable worksharing for your project (Figure 5.3). Two worksets are automatically
created within your project: Shared Levels and Grids, to which any existing levels and grids in
your project will be assigned, and Workset1, to which all other building elements will be assigned.
You can rename these worksets; however, we recommend not renaming Workset1 because you can
never delete that workset—even if it has been renamed. You'll read about an alternative way to use
Workset1 in the section “Organizing Worksets” later in this chapter.
Figur e 5.3
activating
worksharing
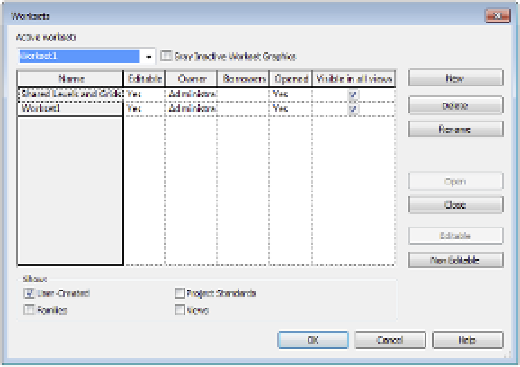
Click OK to confirm that you want to enable worksharing. Depending on the size of your
model and your processor speed, this process can take a few minutes to complete. Once it is
done, the Worksets dialog box opens (Figure 5.4).
In the Worksets dialog box, you can create as many user-defined worksets as necessary;
however, we offer some tips in the section “Organizing Worksets” later in this chapter. By
default, when a new workset is created, it does not contain any model elements or components.
You can add model elements to worksets as you build them or reassign existing elements to
worksets. The Worksets dialog box also lets you take and relinquish permissions over existing
worksets. First, you should understand the different types of worksets illustrated by the options
in the Show box at the bottom of the Worksets dialog box, shown in Figure 5.4.
Figure 5.4
he Worksets
dialog box