Graphics Programs Reference
In-Depth Information
Creating Custom annotations
We are avid supporters of global graphic standards for architecture and engineering such as the
United States National CAD Standard (
www.nationalcadstandard.org)
, but in reality many
architects and designers will likely have their own set of graphic conventions that will need to
be implemented in their Revit projects. Placing customized annotation families in your project
template will save time when you're starting new projects and ensure maximum compliance
with your firm's conventions. You can load tag families into the template using several methods:
◆
Switch to the Insert tab, and in the Load Library panel, select Load Family.
◆
Using Windows Explorer, select RFA tag families and drag them into the Revit project
environment with the template open. If you try to drag more than one family at once, you
are prompted to either open each of those files in an independent window (so you can
modify them) or load them all in the current project. Choose the second option.
◆
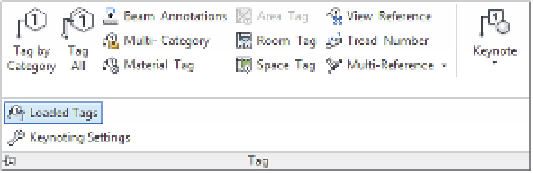
Use the Loaded Tags tool available in the Annotate tab when you expand the Tag panel
(Figure 4.30). This tool allows you to preview all loaded and preset tags that will be used
for respective element categories.
Figure 4 .30
The loaded Tags
dialog box shows
loaded annotation
families assigned to
selected categories.
In the following sections, we'll walk you through creating some common element tags and
customizing system annotation.