Graphics Programs Reference
In-Depth Information
1.
Go to the Insert tab of the ribbon and click the Load Family button. Navigate to the Revit
default library; double-click the Annotations folder and then the Civil folder.
2.
Locate the following files and select them both by pressing the Ctrl key (the equivalent
metric library families are shown in parentheses):
Property Line Tag.rfa (M_Property Line Tag.rfa)
◆
Property Tag - SF.rfa (M_Property Tag.rfa)
◆
3.
Click Open to load both families.
4.
Go to the Annotate tab of the ribbon and click Tag By Category, and then uncheck the
Leader option in the Options bar.
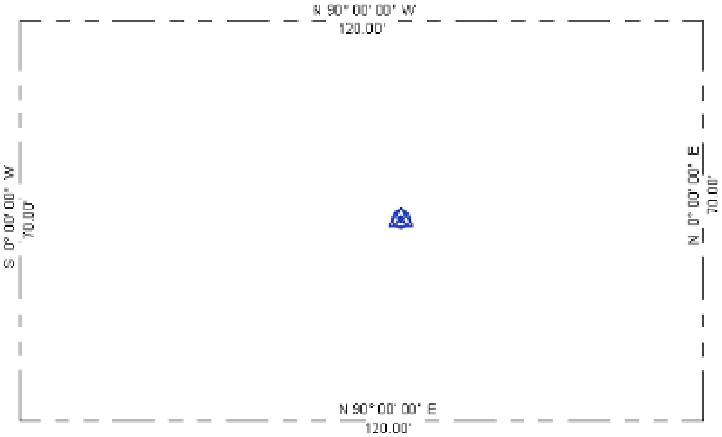
5.
Click each segment of the property line to place the tags indicating the distance and bear-
ing, as shown in Figure 3.38.
Figure 3.38
Tags are applied to
display the distance
and bearing of each
segment of the prop-
erty line.
Now that you have tagged the individual vertices of the property line, it is time to display the
area within the property line. This process is not the same as applying an area tag because an
area object doesn't exist for the property line. Instead, the annotation family Property Tag -
SF.rfa (M_Property Tag.rfa) is designed to apply to the property lines when all its segments
are selected.
You can try this with the property line you created earlier. Go back to the Annotate tab in
the ribbon and click Tag By Category. Instead of picking a single vertex of the property line,
hover your mouse pointer over one segment and use Tab-select to highlight the entire chain of
property line segments. Click to place the property area tag. Click the question mark above the
area to change the name of the property line, as shown in Figure 3.39.