Database Reference
In-Depth Information
5. In the
General
tab of
Image Properties
, select
Database
under
Select the image
source:
.
6. In
Use this field:
, select
[EntityImage]
and then select
image/jpeg
under
Use
this MIME type
. Click on
OK
.
7. Right-click on a space in the
Workflow Name
cell (do not click on the text, just
the space to the right of the text). Select
Text Box Properties
.
8. Click on
Interactive Sorting
. Select
Enable interactive sorting on this text
box
. Under
Choose what to sort:
, select
Groups
and then select
Work-
flowName
.
9. Under
Sort by:
, select
[WorkflowName]
. Click on
OK
.
10. Right-click on
[WorkflowName]
. Select
fx Expression…
. Replace the formula
in
Set expression for:Value
with the following code and click on
OK
:
="("&CStr(RowNumber("WorkflowName"))&")
"&Fields!WorkflowName.Value
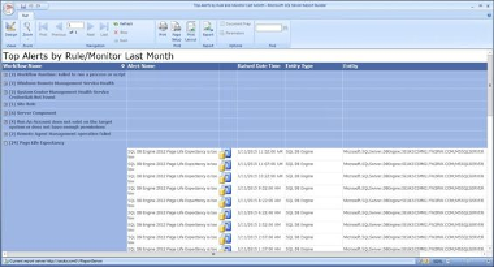
When you are done customizing your report, click on
Run
, as shown in the following
screenshot:
Go back to the
Design
mode and click on
Save
. Navigate to the
Custom Reports
folder
created when preparing your environment, enter
Top Alerts by Rule and Mon-
itor Last Month
as the name, and then click on
Save
. Your report is now published
to SQL Server Reporting Services.