Database Reference
In-Depth Information
Once the files are uploaded, log on to the name node using remote desktop and execute the command
hadoop fs -ls /
in the Hadoop Command Line. This should list all the files you just uploaded, as shown in Listing 8-2.
Listing 8-2.
Listing the uploaded files
c:\apps\dist\hadoop-1.2.0.1.3.1.0-06>hadoop fs -ls /
Found 10 items
-rwxrwxrwx 1 15967 2013-11-24 06:43 /TableFacebook.csv
-rwxrwxrwx 1 130005 2013-11-24 06:42 /TableGoogle.csv
-rwxrwxrwx 1 683433 2013-11-24 06:42 /TableIBM.csv
-rwxrwxrwx 1 370361 2013-11-24 06:43 /TableMSFT.csv
-rwxrwxrwx 1 341292 2013-11-24 06:42 /TableOracle.csv
-rwxrwxrwx 1 341292 2013-11-24 06:43 /TableApple.csv
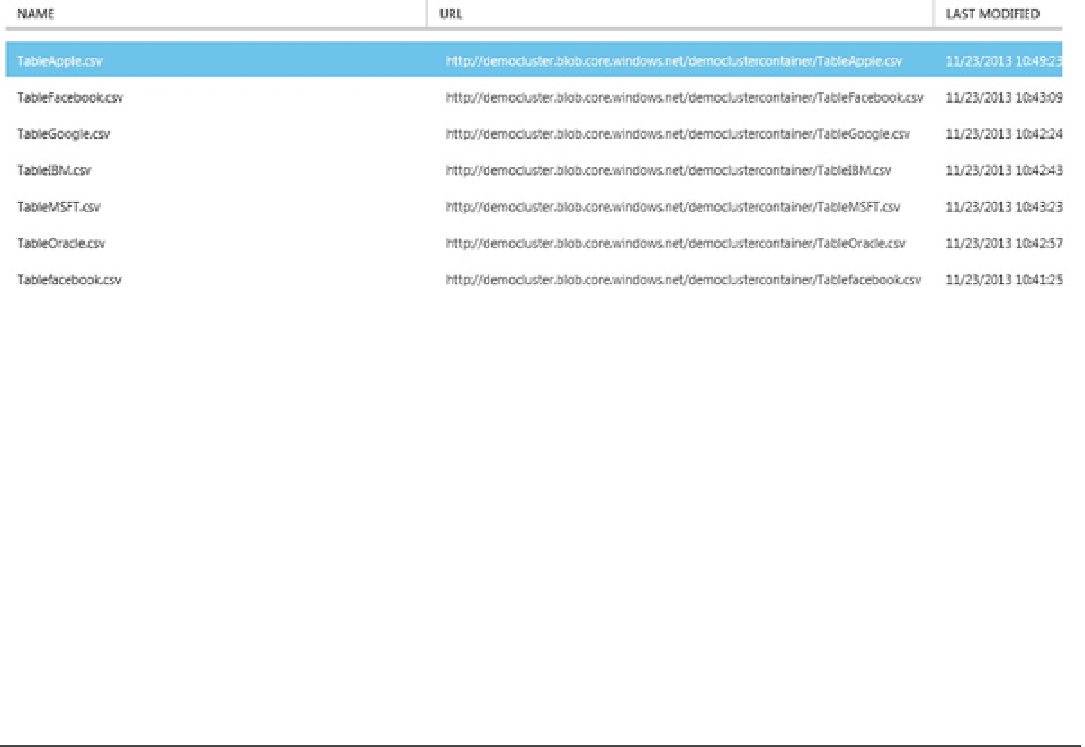
You can also use the Azure portal to navigate to the storage account container, and you should be able to see the
files uploaded, as shown in Figure
8-3
.
Figure 8-3.
The democlustercontainer
Note that the files are uploaded to the root directory. To make it more structured, we will copy the stock data files
into the
StockData
folder. With Remote Desktop, open the Hadoop Command Line and execute commands shown in
Listing 8-3.
Listing 8-3.
Copying the data files to
StockData
folder
hdfs fs -cp /TableApple.csv /debarchan/StockData/tableApple.csv
hdfs fs -cp /TableFacebook.csv /debarchan/StockData/tableFacebook.csv
hdfs fs -cp /TableGoogle.csv /debarchan/StockData/tableGoogle.csv
hdfs fs -cp /TableIBM.csv /debarchan/StockData/tableIBM.csv
hdfs fs -cp /TableMSFT.csv /debarchan/StockData/tableMSFT.csv
hdfs fs -cp /TableOracle.csv /debarchan/StockData/tableOracle.csv
■
the file and folder names are case sensitive. also, you will need to replace the user name value with the one
you configured for remote Desktop access.
Note