Graphics Programs Reference
In-Depth Information
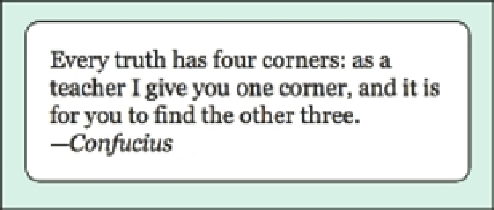
Figure 5-18 shows the end result.
h e i rst step is to make sure the element to be rounded is marked as such, and that it has the
pieces needed to create the corners.
<
div
class="rounded">
(
…content…)
<
b
class="c
tl">
</
b>
<
b
class="c
tr">
</
b>
<
b
class="c
bl">
</
b>
<
b
class="c
br">
</
b>
</
div>
Figure 5-18: The target result.
173
Yes, that's right:
b
elements. h e example is a presentational element because the whole point
of those elements is to create a presentational ef ect. You could as easily use
div
or
span
elements in their place, but there's really not much point.
b
is shorter and it serves as a
structural l ag: “h is is only here to make things prettier.” (Of course, in an ideal world like
that described in the next section, no extra elements would be needed at all.)
h e
class
name
rounded
is applied to any element that needs to have its corners rounded;
it will be used to apply a necessary bit of CSS. h e
b
elements have two
class
names each.
h ey all share
c
, which is short for “corner.” At er that comes the two-letter designation of
which corner the element will be used to create:
tl
for top let ,
tr
for top right,
bl
for
bottom let , and so on.
Now for the CSS. First, set things up so you can see what you're doing:
b.c
{
background
:
red
;}
/* temporary */
h at will outline the corner-holders nicely. Now put them into place (see Figure 5-19):
b.c
{
background
:
red
;}
/* temporary */
.rounded
{
position
:
relative
;
border
:
2px
solid
black
;
background
:
white
;}
b.c
{
position
:
absolute
;
height
:
20px
;
width
:
20px
;}
b.tl
{
top
:
0
;
left
:
0
;}
b.tr
{
top
:
0
;
right
:
0
;}
b.bl
{
bottom
:
0
;
left
:
0
;}
b.br
{
bottom
:
0
;
right
:
0
;}


Search WWH ::

Custom Search