Game Development Reference
In-Depth Information
The name of the class should be
ViewController_iPhone
, and it should be a subclass of
ViewController
. Remember that the class ViewController is a UIViewController, so ViewController_
iPhone will be a UIViewController as well. In this example, we don't want to have either check
box checked, since we already have a XIB file to use with this class. We want to repeat the
process and create an iPad version of our UIViewController. When you create that class, name it
UIViewController_iPad and leave both check boxes unchecked. When you are done, your project
should look like Figure
2-11
.
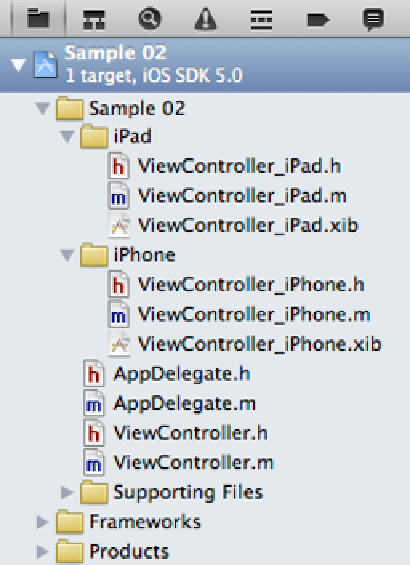
Figure 2-11.
Device-specific UIViewController subclasses added
In Figure
2-11
, we see our project and the new
UIViewController
subclasses we just created. To
keep things organized, I find it handy to put the device-specific classes in their own group.
Now we have XIB files and
UIViewController
classes for each type of device, iPhone and iPad. If
we want to code that as shared behavior, we will add it to the class
ViewController
. If we want to
add code that is specific to a particular device, we would add it to either
ViewController_iPad
or
ViewController_iPhone
. Now we can move forward and start implementing our application. Let's
look at the UI elements first.