Game Development Reference
In-Depth Information
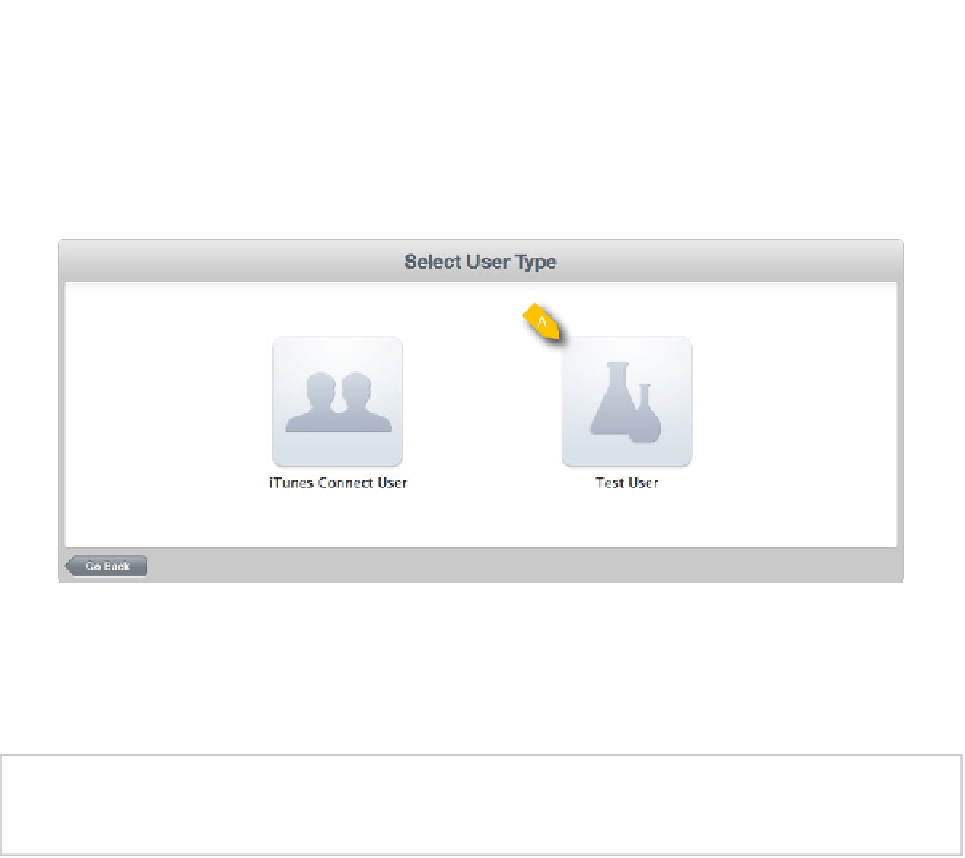
Creating a Test User
Once you have in-app purchases defined, you will want to create a test user to “purchase” those
items in your application. This give you a chance to test enabling or disabling each purchased
feature with the same workflow that a real user will experience. Figure
10-5
shows where you start
the process of adding a test user in iTunes Connect.
Creating a test user
In Figure
10-5
, we see the option to create a test user from the Select User Type view. This view is
available in iTunes Connect by clicking on the Manage Users button found on the home screen.
Note
I emphasize using a test user to debug your in-app purchases because trying to debug with a
real user will confound your efforts.
Once you click the Test User button shown in Figure
10-5
, you will be prompted to create a new
user. There should be nothing surprising—just keep in mind that you should not use an e-mail
address that is currently an Apple ID.
We have looked at adding in-app purchases to our application in iTunes Connect and how to make sure
we have a test user to debug our application. Next, we will look how in-app purchases are integrated
into Belt Commander, giving us an understanding of the classes involved and how to use them.
Class and Code for In-App Purchases
Creating in-app purchases in iTunes Connect is just the first step in actually having in-app purchases
available in your application. The next step is to understand the process of how in-app purchases
are actually purchased and what classes are involved. The framework that contains the pertinent
classes is called StoreKit, and is available as part of you iOS SDK installation. Using these classes,