Database Reference
In-Depth Information
Working with the Blank Solution
After you have chosen a template and configured both the name and location, click OK to close the dialog
window and begin working with the new solution. Behind the scenes, Visual Studio creates a number of files and
folders, but all you see is a single folder displayed in a treeview-based window called Solution Explorer. This is the
main window used to work with Visual Studio solutions.
■
visual Studio automatically generates new subfolders for each project within the solution folder. in addition,
because we specified a nonexistent folder (
C:\_BISolutions
), visual Studio creates both the
_BISolutions
folder
and the
WeatherTrackerProjects
solution folder for us. in this topic, we use the
_BISolutions
folder to organize
all of our solutions folders under one principal folder.
Note
When you create a blank solution, Visual Studio shows the solution name in the Solution Explorer window
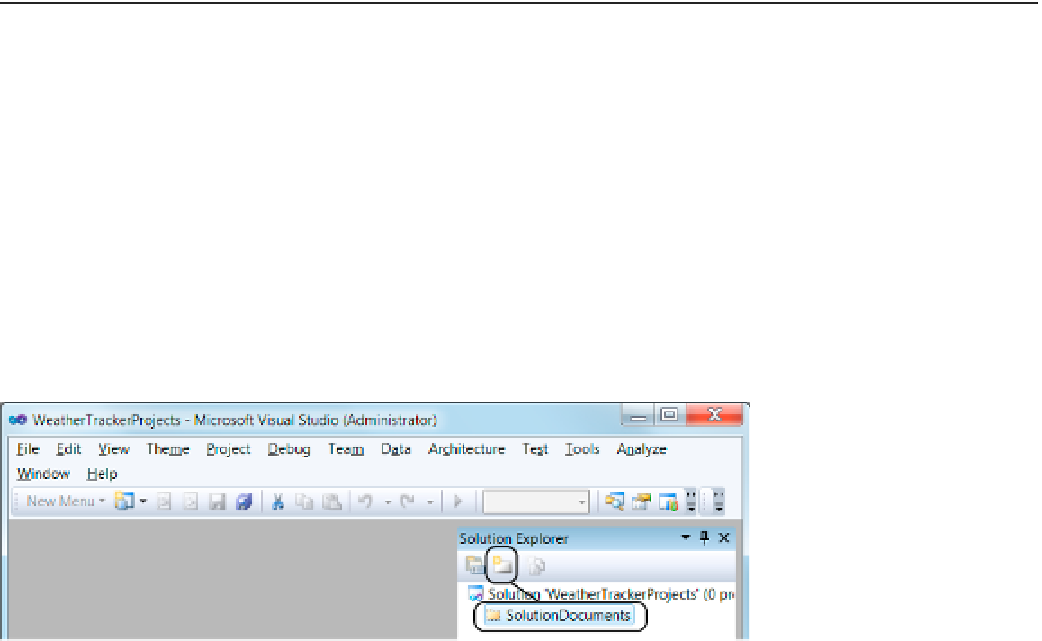
but not much else. We are going to add a new solution folder specifically to hold our solution documents by
clicking the Add New Solution Folder button circled in Figure
2-4
. Once you click this button, a new folder is
created instantly, and the text is highlighted to enable you to rename it easily.
You should rename your folder to something appropriate. This solution folder will hold a collection of
documents for our solution, so a name such as SolutionDocuments is appropriate (Figure
2-4
).
Figure 2-4.
Creating a solution folder
Once the folder is created and renamed, you can then add documents you have created or collected to it.
Simply click the new
SolutionDocuments
folder you created, which highlights the folder. Then right-click the
folder and select Add
➤
Existing Item from the context menu, as shown in Figure
2-5
.