Game Development Reference
In-Depth Information
Why?
Pretty strange results, no? If you are working with the version of your set
that you built from the previous chapters, you are finding that there are
lots of polygons that are still gray, and those polygons that have texture
are all sorts of screwy. Of course, this is because we have not UV mapped
this form, so the only polys that will have any textures are the original
faces of the cube we began this form with. In the next few steps we will
take control of the UVs again, and give recognizable texture to this form.
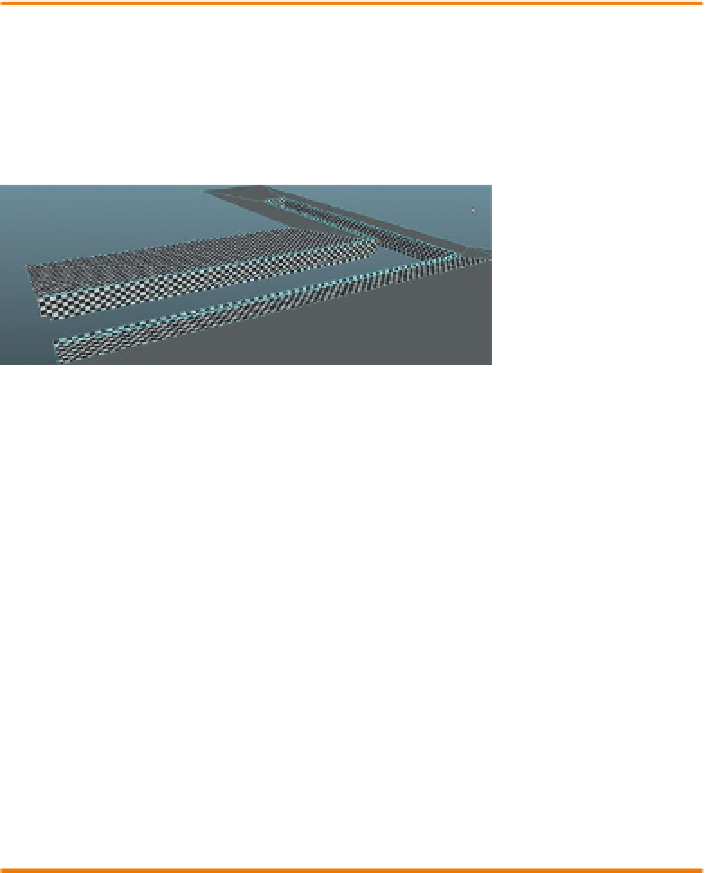
Step 43:
Planar map the tiled part of the dock. Select the two polys
that we previously assigned EntryWay_DockTile_Mat to. Choose
Polygons>Create UVs>Planar Map (Options). Tick the Bounding Box and
Y axis radio buttons and press Project. Use the manipulators to adjust the
projection to yield square checkers (
Figure 3.31
).
Figure 3.31
Mapped white cement
parts of the dock via Automatic
Mapping.
Why?
Don't worry too much about the exact size of these checkers. The UVs
that are being edited at this point can be way out of the top-right
quadrant of the UV Texture Editor, and in fact once we start building
textures, this will undoubtedly change. What we're interested in is
undistorted UV mapping at this point. So as long as the checkers are
square, you're good.
Step 44:
UV the white cement parts with automatic mapping.
Select the polygons that have previously been assigned EntryWay_
DockWhiteCement_Mat to, and UV map these polys with Automatic
Mapping (Polygons>Create UVs>Automatic Mapping). Use the
projection manipulators (visible in the View panel immediately after
Automatic Mapping is chosen) to scale the UVs to ensure square
checkers (
Figure 3.31
).
Tips and Tricks
Be sure you are looking at all sides of this projection. The manipulators
for Automatic Mapping look different than those for Planar Mapping, and
it will be important to take a close look at all the polygons to get things
adjusted appropriately. Remember that sometimes that manipulator is
good for gross adjustments, but for any sort of fine adjustment use the
UV Texture Editor.