Game Development Reference
In-Depth Information
Figure 3.24
Arranging shells.
Why?
We are going to sew some of these shells together so that the texture can
move uninhibited across the surface. When we used Automatic Mapping
the shells were all laid out well for us; but not so when we manually map.
Step 35:
Resize shells to appropriate sizes. Earlier we learned that when
an edge is selected, if that edge is shared in another shell it will highlight
as well. As this happens, it may become clear that earlier estimates of
matching checkers in the View panel doesn't quite hold up here (the
edges might not be the appropriate sizes). Move and scale the shells to be
appropriately matched (
Figure 3.25
).
Figure 3.25
Adjusted shells. Shells
were moved and scaled.
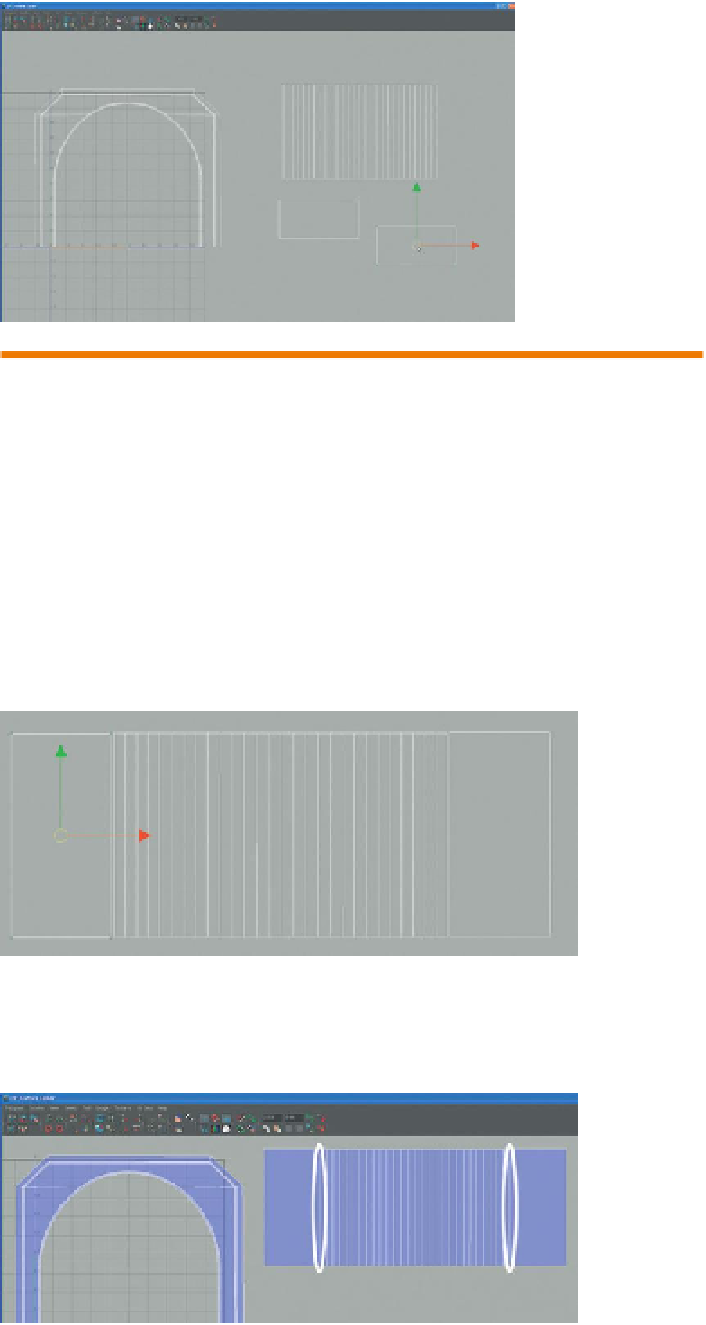
Step 36:
Sew arch edges up. Select an edge at the bottom of the arch, which
should select the top of one of the bottom polygons and use Polygons>Move
and Sew UV Edges. Do this on both ends of the arch (
Figure 3.26
).
Figure 3.26
Finished arch manually
mapped. The edges that were sewn
are highlighted.