Game Development Reference
In-Depth Information
Figure 3.14
Final UV layout of the
object EntryWay_Columns with the
EntryWay_Columns_Mat material
assigned. Don't worry about making
this happen just yet—but be
aware that this is the final goal of
a texture atlas.
different objects on the screen. It takes much less of the video memory,
and dramatically reduces the draw calls. Since in my scene I have other
things that are attached to the columns (ladders and frames), I am going
to place the UVs for those objects in the spaces of the quadrant that are
empty, and then assign the same texture to all these objects. The idea of
Texture Atlases are so powerful that we will be visiting them again.
Finally, when the UV was done for this level, the UV map for the single
mesh EntryWay_Columns (which was actually the result of lots of
combines) looked like
Figure 3.14
.
Further Optimization
Step 18:
Duplicate, place, and combine this UVed column. Delete
the old duplicates of the column and replace them with this one.
When they are all placed, select all of them and combine them
(Polygons>Mesh>Combine). Name this new polygon shape
EntryWay_Columns
. Finally, to make sure the manipulator handle for
this new group makes sense, select Modify>Center Pivot.
Step 19:
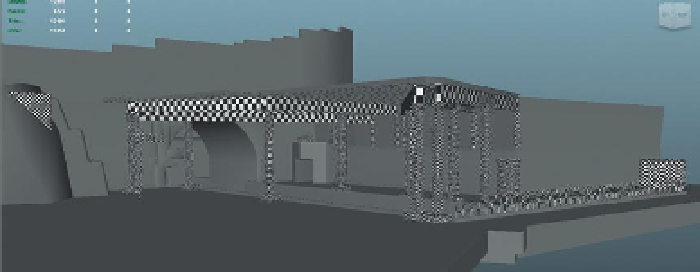
Repeat this process for other squarish shapes. Using the
objects in my scene this included the beams above the columns, the
roof, and various other obviously square structures. Those shapes
that were UV mapped using this technique are shown checkered in
Figure 3.15
.
Figure 3.15
Objects UV mapped
using the Automatic Mapping
as a start.