Game Development Reference
In-Depth Information
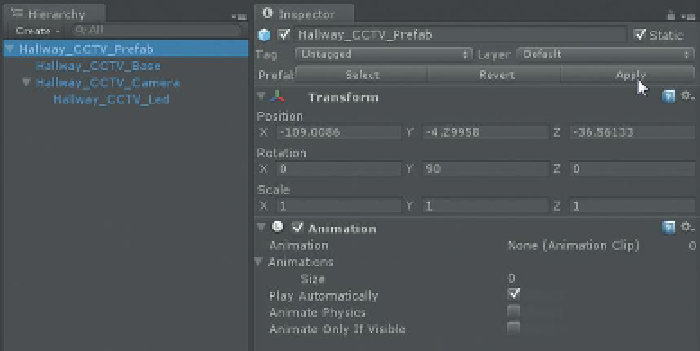
Figure 15.3
Prefab build within Unity.
the Assets folder of the Unity project file, this object automatically updates to
represent these changes.
Here's the thing though—if in Unity changes are made to this object (objects
added, scripts added, objects deleted etc.), they will not propagate to any other
copies of this placed GameObject in the model. As soon as any changes are
made to this GameObject, Unity will warn that “This action will lose the prefab
connection. Are you sure you wish to continue?” and upon clicking Continue,
the connection is indeed lost. The only option after that is to Revert to the state
of the object when it was imported, or leave this orphaned object as is.
Conversely, look at
Figure 15.3
, which is a
prefab
constructed from an
imported model.
The difference in the icon is subtle, and it is why I prefer to name Unity-
created prefabs as such, but the difference in functionality is big. With a prefab
constructed within Unity, if changes are made to the prefab (objects added
or taken away), Unity will warn of the prefab connection being broken, but
then after the changes are as desired, the Inspector allows for the changes to
be applied (via an Apply button;
Figure 15.4
), and those changes are inherited
everywhere this prefab has been placed.
Creating a prefab in Unity is very simple. To create one simply choose
Assets>Create>Prefab. This will create a new object in the Project panel that
shows a white cube (
Figure 15.5
). This represents an empty prefab. After the prefab
is named, the prefab can be populated/filled by dragging any object on top of the
empty prefab. It will then turn blue in the Project panel and you're in business.
Figure 15.4
Ability to apply
changes to prefabs.
Figure 15.5
Empty prefab.