Game Development Reference
In-Depth Information
Step 27:
Populate the new flashlight variable in Unity by dragging
your flashlight from the Hierarchy to the flashlight variable on the AC_
ToolFunctionalityScript (attached to the First Person Controller).
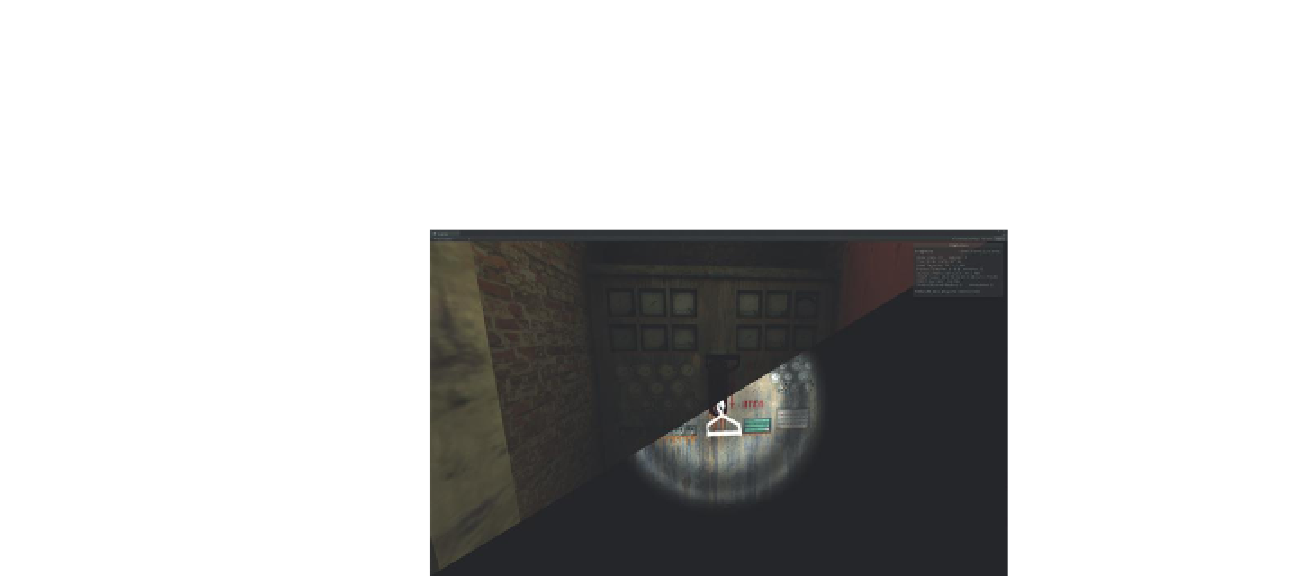
Step 28:
Test. The handle should highlight, when clicked it will swing up,
and then the lights will appear to come on (
Figure 14.12
).
Figure 14.12
The power switch
mechanics (before and after).
Conclusion
The functionality of the game is starting to emerge. We've looked at ways to
make things happen by clicking things directly (OnMouseDown), we've made
things happen by running into triggers (OnTriggerEnter), and now we've
used raycasting to highlight objects, and then while an object is positively
identified trigger other actions and functions.
But we're not done yet, not by a long way. In fact there are some things we left
undone in this chapter. Currently, we can highlight the key, but do nothing
with it. In later chapters we will build a “state engine” and an inventory system
that will make use of our present system. But first, in the next chapter we
will look at the ideas of Prefabs and instantiation. We will build upon what
we know and build a Raycast-driven system that will allow for the player to
shoot out the CCTV cameras to avoid detection. In that same chapter we will
instantiate new objects like our EMP Mine to get into the facility.
Homework and Challenges
Challenge 1:
The power closet could be already open, or another trigger
could be set up to allow it to open as the character approaches. Or, a
raycasting system could be set up that would allow the door to open,
but only if the player was facing the door (as in, the ray was cast upon it)
and if the player was within a certain distance of the door (length of ray),
and if the door matched a certain name. Try and build a door-opening
mechanism using your new raycasting skills.