Game Development Reference
In-Depth Information
Columns Base Shape
Step 5:
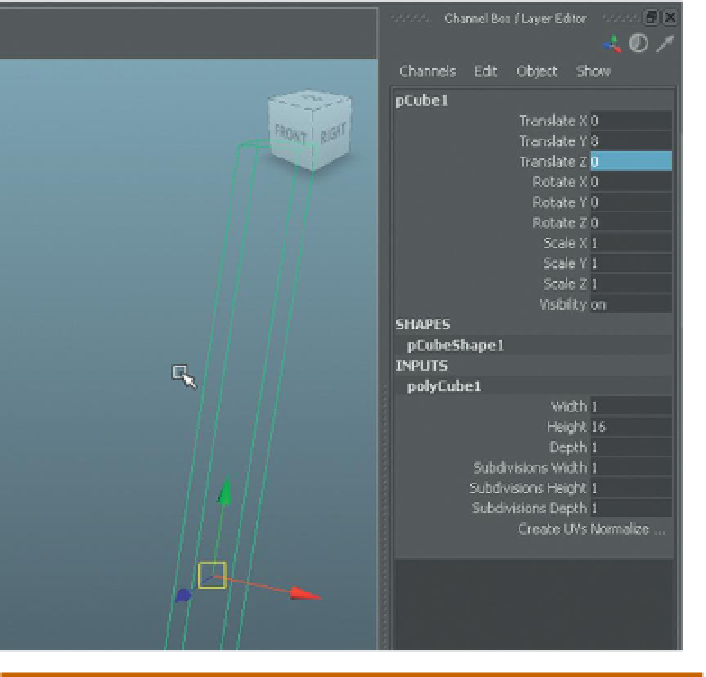
Create the base shape of the cement columns with a polygonal
cube (Create>Polygon Primitives>Cube). Using the Channel box, make the
cube Width = 1, Height = 16, Depth = 1 units by adjusting the polyCube1
INPUTS (
Figure 2.7
). Make sure the Subdivision Width, Height, and Depth
is set to 1. In the Outline (Window>Outliner), double-click this new pCube
and rename it
EntryWayColumn
.
Figure 2.7
Creating a long tall cube
as the basis of our pillar.
Why?
X = 1 Y = 16 and Z = 1? How come? Well, no reason actually, except that it's
a nice round number. Scale between apps and Unity is always a little tough
and something that we will tackle more specifically in Unity. In Maya, absolute
sizes are frustratingly difficult to keep track of, so we will focus on relative
sizes. However, it is clear from the research that the pillar's cross-sections are
square, and so numerically ensuring that this is so is much more accurate than
eyeballing the thing. The Subdivision settings are set to 1 because we only
need one subdivision to describe the shape, and any more is a waste of polys.
Step 6:
Create a base using the Extrude tool to widen the base and give
it depth (
Figure 2.8
). As a review, right-click on the object and select Face.
Select the bottom face, choose Polygons>Edit Mesh>Extrude, and use the
manipulator handles to scale out the first extrusion. Repeat the process
and use the manipulator handles to add depth.