Game Development Reference
In-Depth Information
Step 2:
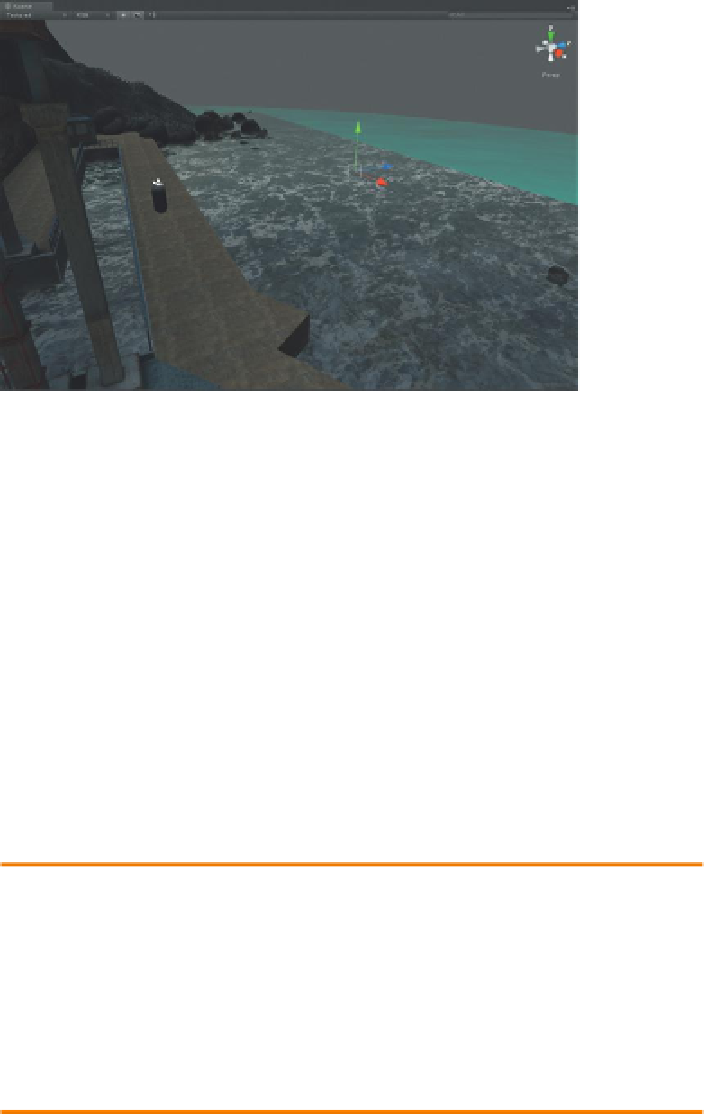
Create an empty GameObject to house the waves sound. Choose
GameObject>Create Empty. This will create a new GameObject in the
Hierarchy. Move this GameObject so it is just off the end of the dock
(where the ocean is (
Figure 11.1
)). Name this GameObject
Sound-Waves
.
Figure 11.1
Placement of Sound-
Waves GameObject.
Step 3:
Add Audio Source component. With Sound-Waves selected in the
Hierarchy panel, choose Component>Audio>Audio Source. In the Inspector
notice the new Audio Source component that is part of Sound-Waves.
Step 4:
Define the Audio Clip. Still with Sound-Waves selected so the
Audio Source component is visible in the Inspector, drag (from the Project
panel) the waves sound into the Audio Clip input field (note the target
icon next to the input field could also be clicked and the waves sound clip
chosen that way).
Step 5:
Make the clip loop. Still in the Audio Source section, ensure that
Play on Awake and Loop are both checked.
Why?
The waves shouldn't stop. When the game starts, the sound for the
waves should be playing (Play on Awake), and when the end of the clip is
reached it should begin again (Loop).
Step 6:
Play the game and adjust. Make sure you are wearing headphones
to see how the sound works in stereo, and walk around the scene. Walk
closer and further from the sound source. Open the 3D Sound Settings in
the Inspector window. If the sound gets too loud or too quiet, change the
Min Distance and Max Distance (within the Min Distance the volume is at
100%, and drops off until the player is outside of the Max Distance). The
settings I settled on were Min Distance = 10 and Max Distance = 500.
Why?
It's fairly important in this scene that the sound of the waves never
disappears completely—thus the very large Max Distance setting.