Game Development Reference
In-Depth Information
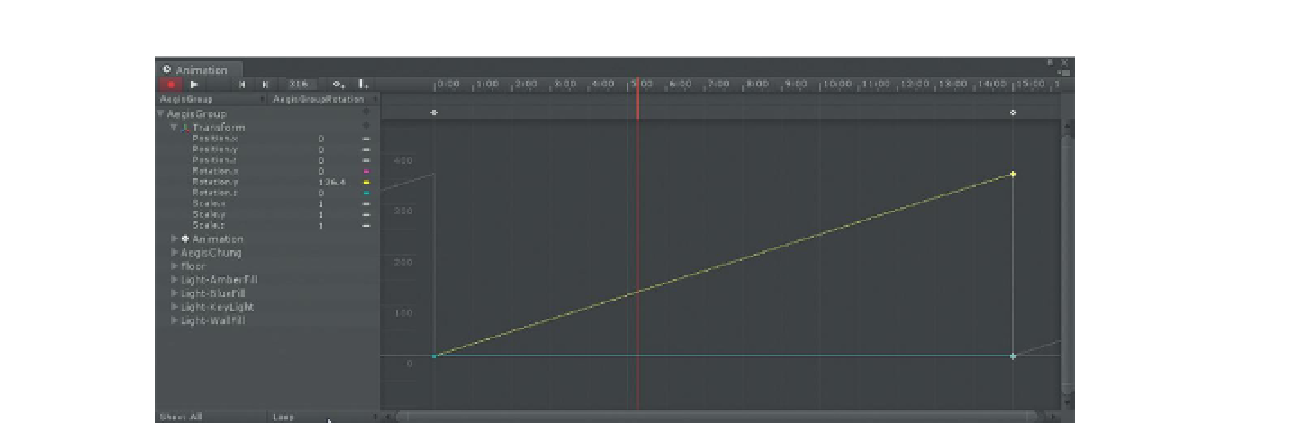
Figure 10.50
Finished animation of Aegis turning.
Conclusion
And there it is. It's easy to see how in a pinch, a bit of animation can be easily
added to an object in Unity. To edit this animation later, just click the object
(AegisGroup) and open Window>Animation. The animation will be shown
there and keyframes can be moved, interpolation adjusted, and new keyframes
added (the red Record button needs to be clicked to add additional keyframes).
Wrapping Up
Aegis is modeled, rigged, skinned, animated, and in the game. At this point
all the 3D assets we are going to model for the game have been created and
imported. Now it's time to move wholly into the realm of Unity to add some
interactivity to the scene.
In the coming chapters we will be looking at how to develop scripts that turn
the levels we have created into a game. Some of the assets needed for this
game were assigned as homework and challenges in the past chapters. But
if you didn't do those challenges, there is a package created that will include
the other items and sections needed for the game.
Part of the power of Unity is that new art assets can be brought in and
configured anytime along the way. We could do most of the scripting in the
coming chapters first to work out the mechanics of the game, and then bring
in the art assets. We could add assets as the game play brought up new ideas;
it is a very nonlinear and flexible process.
If you are unhappy with your results thus far, an imported version of Aegis
and a bunch of other character assets are available on the support web site
(
http://www.Creating3dGames.com
) as CharacterAssets.unitypackage. Even
if you are happy with the results, download this and import into your project
(Asset>Import Package>Import Custom Package).
But with this we'll leave the creation and importing of assets behind. It's time
to make this thing a game!