Game Development Reference
In-Depth Information
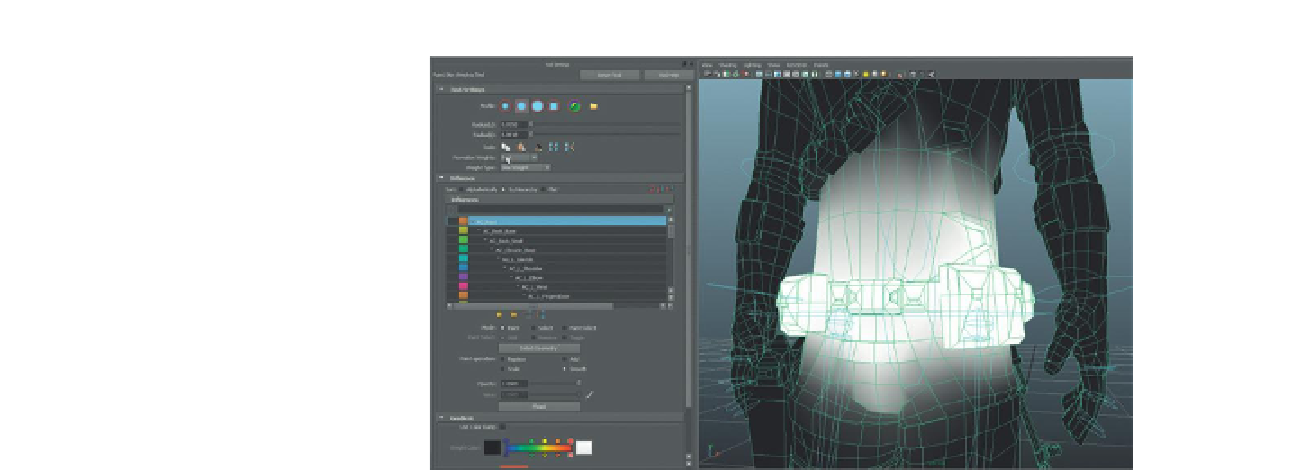
Figure 10.40
Smoothing influence
through Smooth Flood.
Step 14:
Repeat this process of painting at 1 and then smoothing starting
from the extremities and working in. So start from the toe and work up to
the hip, then start at the finger tips and move up to the shoulders.
Conclusion
In all the topics I've written, writing about painting skin weights is always the
toughest. They just don't lend themselves well to step-by-step tutorials. Although
we could go joint by joint and look at painting the influence for each, the results
would be maddeningly tedious and still yield results not identical to mine.
I've found through many years of teaching this that the best way to learn
skin weights is to paint skin weights. So tear into it, test often (you'll need to
re-enable the ability to select joints to test and then turn them off again) and
discover the fun of making the form deform correctly.
As you work, consider the following tips:
1. Remember that when painting the influence of a joint, you are painting
what vertices are influenced by that joint, not just the vertices that are
around the joint. So a knee joint should not just be painted around the
knee; rather the knee joint will be affecting from the knee down the shin
and the top of the ankle (
Figure 10.41
).
2. Remember that painting skin weights is a dynamic process. As you paint
skin weights on one area of the body, it is robbing influence from other
parts. This means that the skinCluster is very fluid, and what you painted
may not remain that way, so don't assume that once a joint has been
painted it's complete and done. Multiple passes are necessary to get
things right.
3. Be very careful not to paint areas not intended. This seems obvious, but
very often I see a student oriented below their character painting the end
of the toe and end up picking up the tip of the nose. So every time the
character picks up a foot or moves the leg, the tip of the nose moves.