Game Development Reference
In-Depth Information
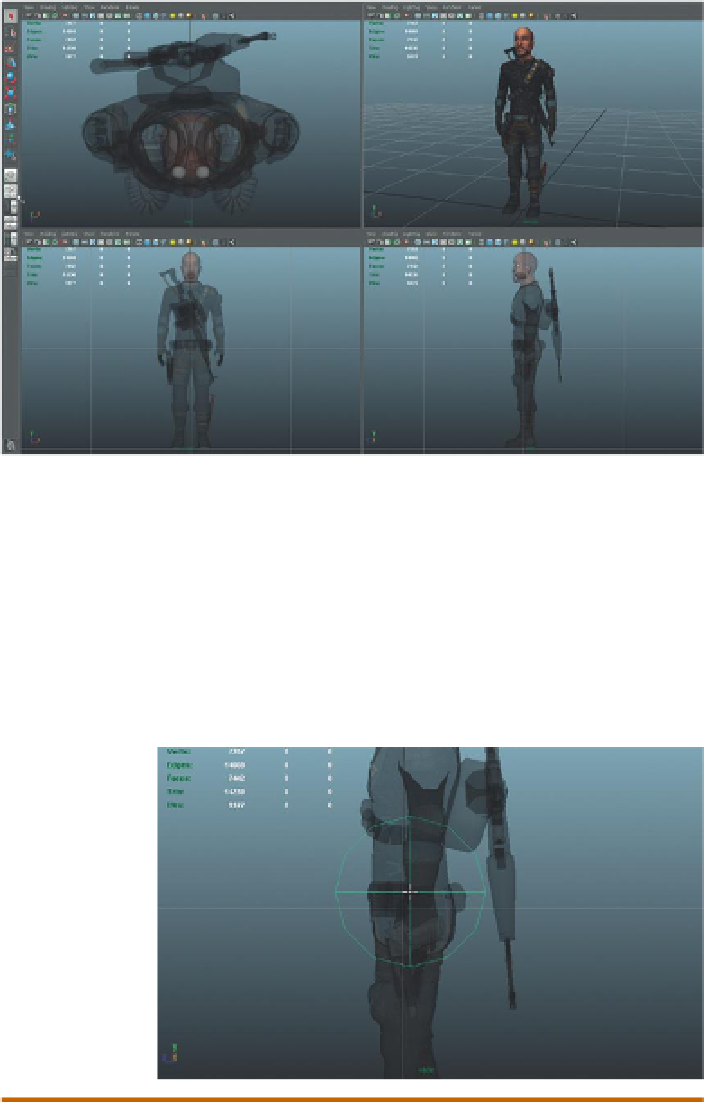
Figure 10.3
Setting up the interface
for effective joint placement.
Step 15:
In the top-side- and front-view panels activate X-Ray (Shading>-
X-Ray). Be sure to be viewing as either Smooth Shade (press 5 on the
keyboard) or Smooth Shade with Textures (press 6 on the keyboard).
Root Joint
Step 16:
Place the Root joint. Activate the Joint tool (Animation>
Skeleton>Joint Tool), and in the side-view panel click once about
halfway between the navel and bottom of the crotch. A really big joint
(
Figure 10.4
) will appear. Press Enter to exit the tool.
Figure 10.4
Initial placement of
Root joint. Yep, way too big.
Why?
Several why's here. First, the Root joint is going to be the one joint to rule
them all. This joint is going to be the parent-most joint of all the joints in
the skeleton. It will be important that it is sitting in the middle of Aegis
because this will be the mirror point. By placing the joint from the side-
view panel, we know that the X Position value of the joint is 0.
Second, we exited the tool right after placing the joint. Part of the reason for
this is that we need to change the size of the joints, but also, it's important